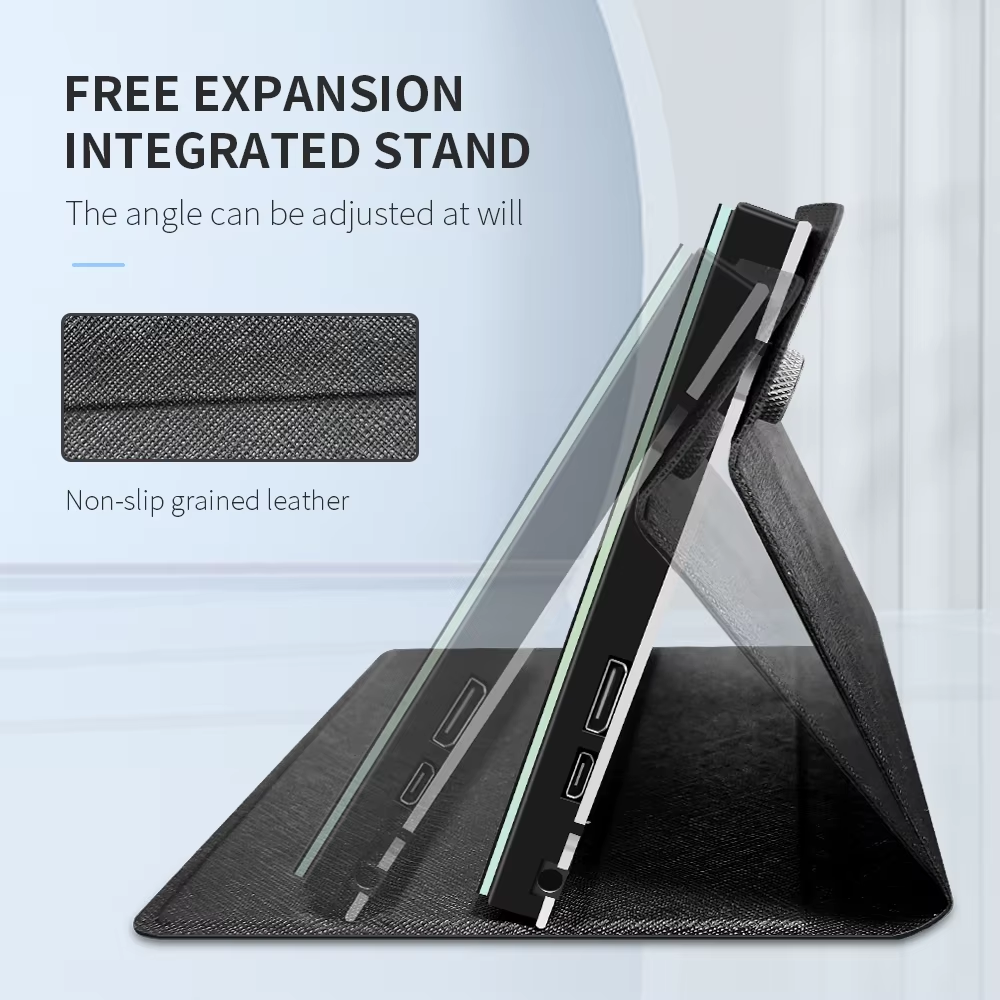
LCD 7 Inch HDMI Touchscreen 1024×600 with Portable Case and Internal Speakers
Upgrade your Raspberry Pi projects with this 7-Inch HDMI Touch Screen! With a vibrant 1024×600 resolution and responsive touchscreen, navigating your projects is a breeze. Enjoy rich audio through the built-in speakers, eliminating the need for extra equipment. Simply connect via HDMI for an easy setup. Perfect for everything from digital signage to interactive applications.
Features:
- Standard 7-inch screen, hardware resolution 1024 x 600
- Capacitive touch screen, maximum support 5-point touch screen.
- Built-in speakers for rich sound without the need for external speakers.
- Support backlight control alone, the backlight can be turned off to save power.
- Support Raspberry Pi and other mainstream mini PC.
- Can be used for general-purpose use of HDMI monitor, for example: connect with computer HDMI as sub-display.
- Used as a Raspberry Pi screen that supports Raspbian, Ubuntu, Kali Linux, Kodi, win10 IOT, one touch, free drive.
- Work as a PC monitor, support win7, win8, win10 5 point touch system (XP and old version system: one touch),
Specifications:
- Screen Size: 7 inches
- Resolution: 1024 x 600 dots (hardware resolution) with up to 1920 x 1080 software configuration resolution
- Display Type: TFT LCD
- Touch Technology: 5-point Capacitive touchscreen
- Aspect Ratio: 16:9
- Brightness: 300 cd/m² (typical)
- Contrast Ratio: 500:1
- Viewing Angle: 70° (left/right), 60° (up/down)
- Input Interface: HDMI
- Audio Output: Built-in speakers
- Power Supply: 5V DC (via micro USB or GPIO)
- Dimensions: 178.4mm x 105mm
- Compatibility: Raspberry Pi models (including Raspberry Pi 4, 3, 2, and Zero)


Package Includes:
- 1x Raspberry Pi 7 inch HDMI Touch Screen 1024×600 with Portable Case
- 1x Micro adapter
- 1x HDMI connector
- 1x USB cable
- 1x User Manual


Reviews
There are no reviews yet.