
The ELECROW CrowPanel is an all-in-one Human-Machine Interface (HMI) display powered by an ESP32 microcontroller, designed for IoT, automation, and industrial control projects. With a touchscreen interface, Wi-Fi/Bluetooth connectivity, and GPIO expansion, it’s a versatile tool for makers and engineers.
Content:
- Introduction
- Feature
- Hardware Deep Dive
- Setting Up the CrowPanel
- Best Use Case
- Pros & Cons vs. Alternatives
- Project Ideas
- Conclusion
- External Resources
Introduction
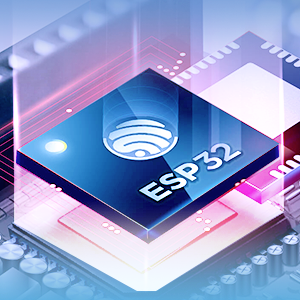
CrowPanel ESP32 Display module is a powerful HMI capacitive touch screen with LCD display. It uses the ESP32-S3-WROOM-1-N4R8 module as the main control processor, with a dual-core 32-bit LX6 microprocessor, integrated WiFi and Bluetooth-compatible wireless functions, a main frequency of up to 240MHz, providing powerful performance and versatile applications, suitable for IoT application devices and other scenes.
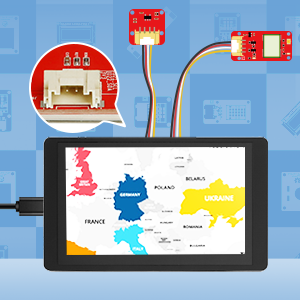
The module includes a 5.0-inch LCD display and a driver board. The display screen uses a capacitive touch technology and the board has reserved a TF card slot, multiple peripheral interfaces, USB interface, speaker interface, battery interface, etc., providing more expansion possibilities. It supports development environments such as Arduino IDE, Espressif IDF, Lua RTOS, and Micro Python, and is compatible with the LVGL graphics library, supports openHASP. This enables developers to not only customize their own UI interfaces but also to create interesting projects quickly and easily, greatly shortening the development cycle.
The CrowPanel ESP32 Display 5.0-inch module is suitable for a wide range of scenes such as automotive HMI, medical equipment, smart home, industrial control, civil electronics, home automation, new energy, and IoT application devices. Its various interfaces and expansion functions make it able to meet the needs of different fields, providing users with a more comprehensive solution. This 3.5″ display also supports tactility. Click here to learn more.
Feature
- Integrated ESP32-S3-WROOM-1-N4R8 module,built-in wireless communication 2.4 GHz Wi-Fi (802.11 b/g/n) and Bluetooth-compatible 5.0;
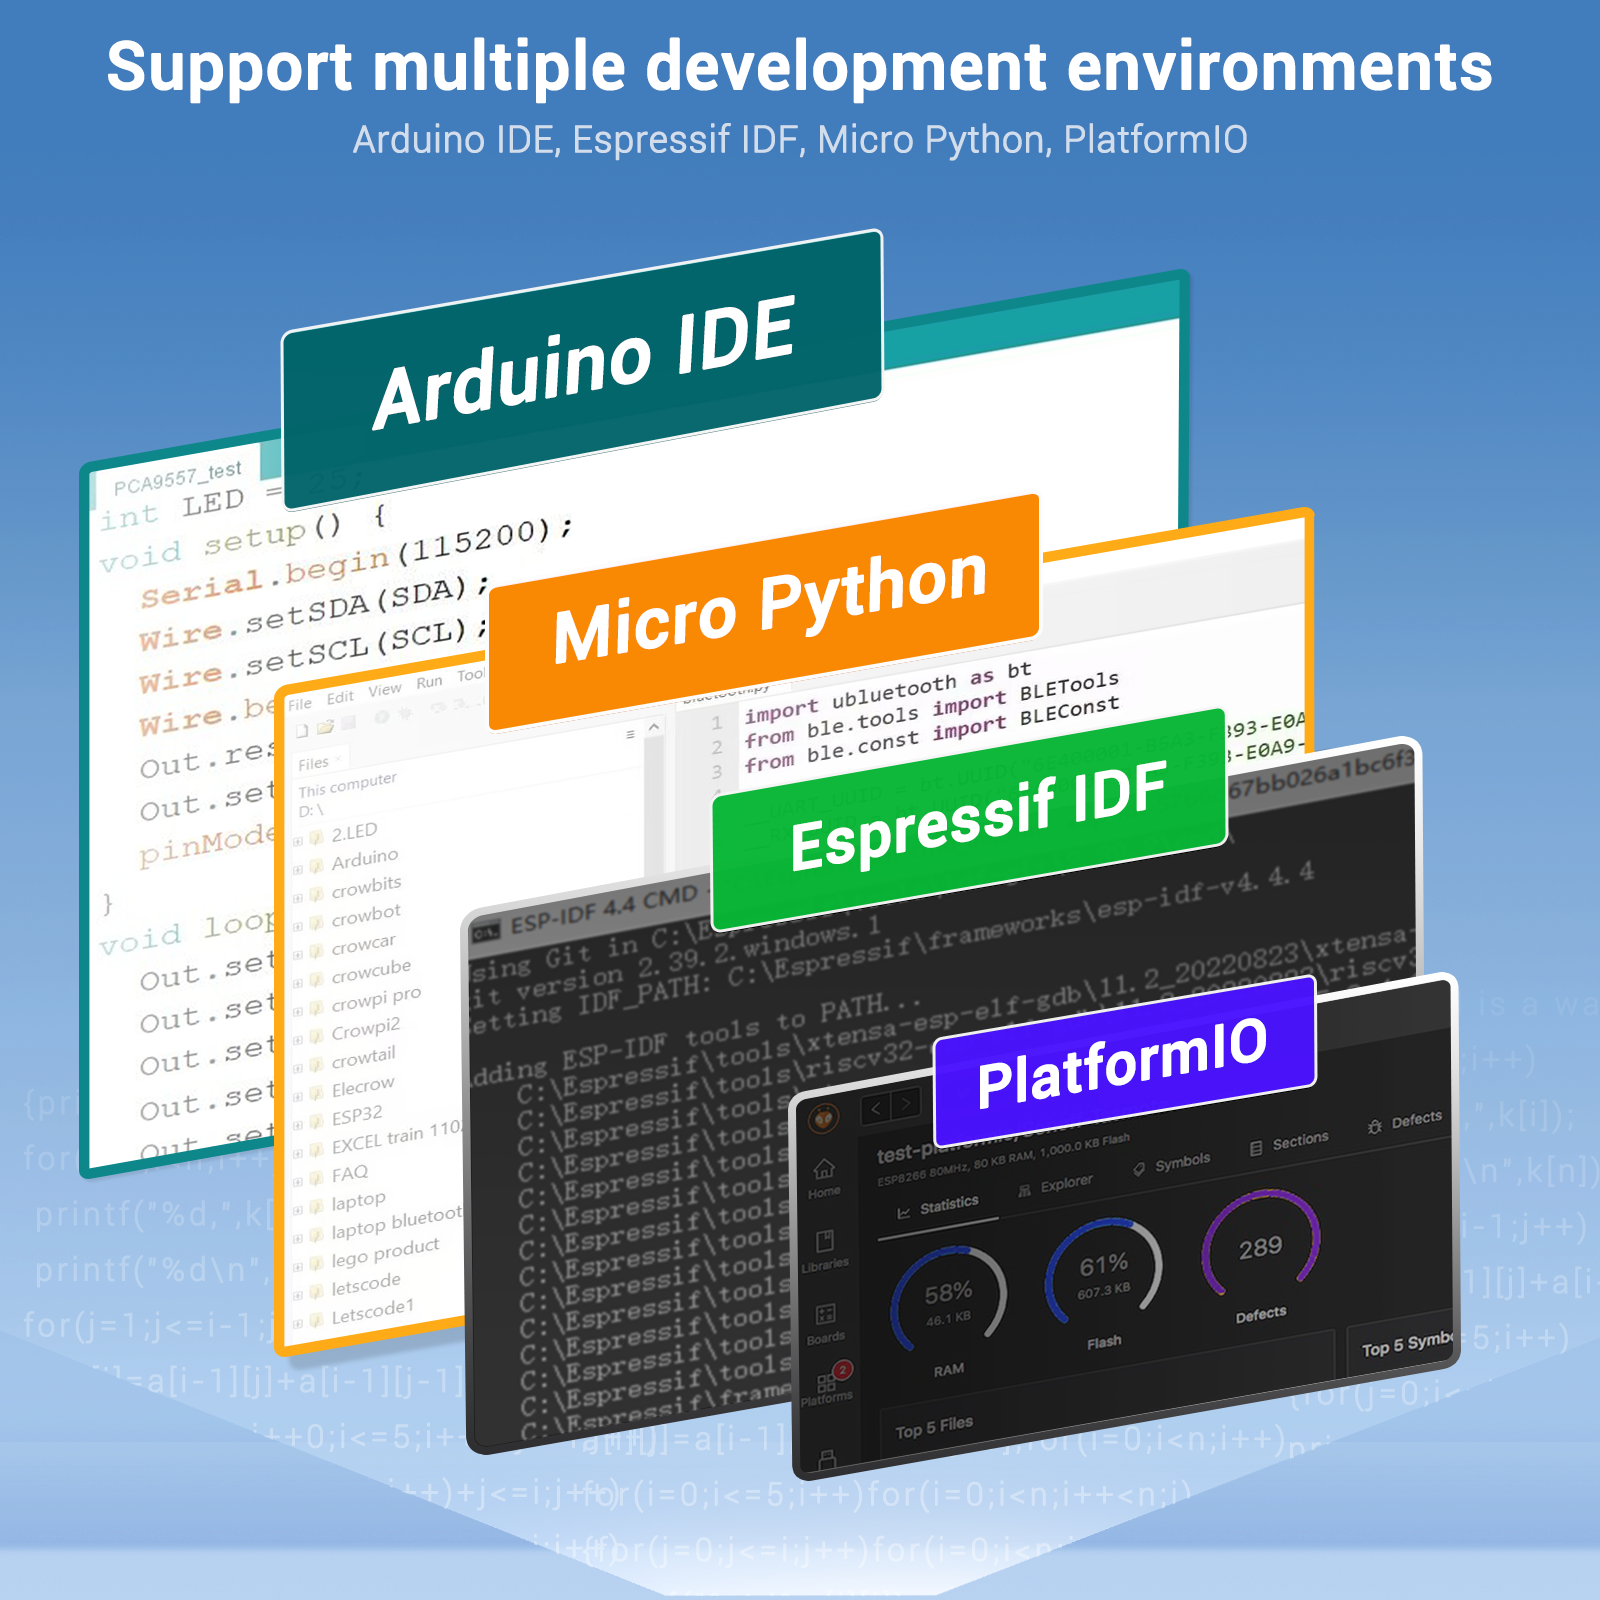
- Support development environment Arduino IDE, Espressif IDF, PlatformIO, Micro python and compatible with LVGL graphics library;
- Built-in LVGL demo interface and Arduino example, plug and play;
- TFT-LCD capacitive screen with driver IC ILI6122 + ILI5960;
- Rich peripheral interfaces and expansion functions enable it to meet the needs of different fields.
 |
 |
ESP32 ScreenESP32 Display 5.0″ module is a powerful HMI capacitive touch screen with a 800*480 resolution LCD display. It uses the ESP32-S3-WROOM-1-N4R8 module as the main control processor. |
Crowtail CompatibleIt’s compatibility with the ELECROW Crowtail modules can give an easier implementation method to your projects. |
 |
 |
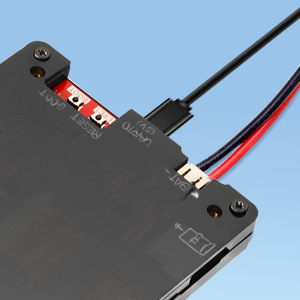
2 Way PowerSupport TYPE-C USB power supply and external lithiumbattery power supply. |
Tech Issues?If you encounter any issues while using our product, please please be free talk with us and we are here to help you! |
Support multiple development environments.
It supports a variety of development environments such as Arduino IDE, Espressif IDF, PlatformIO, and Micro Python, to meet the needs of different developers and make every project possible.
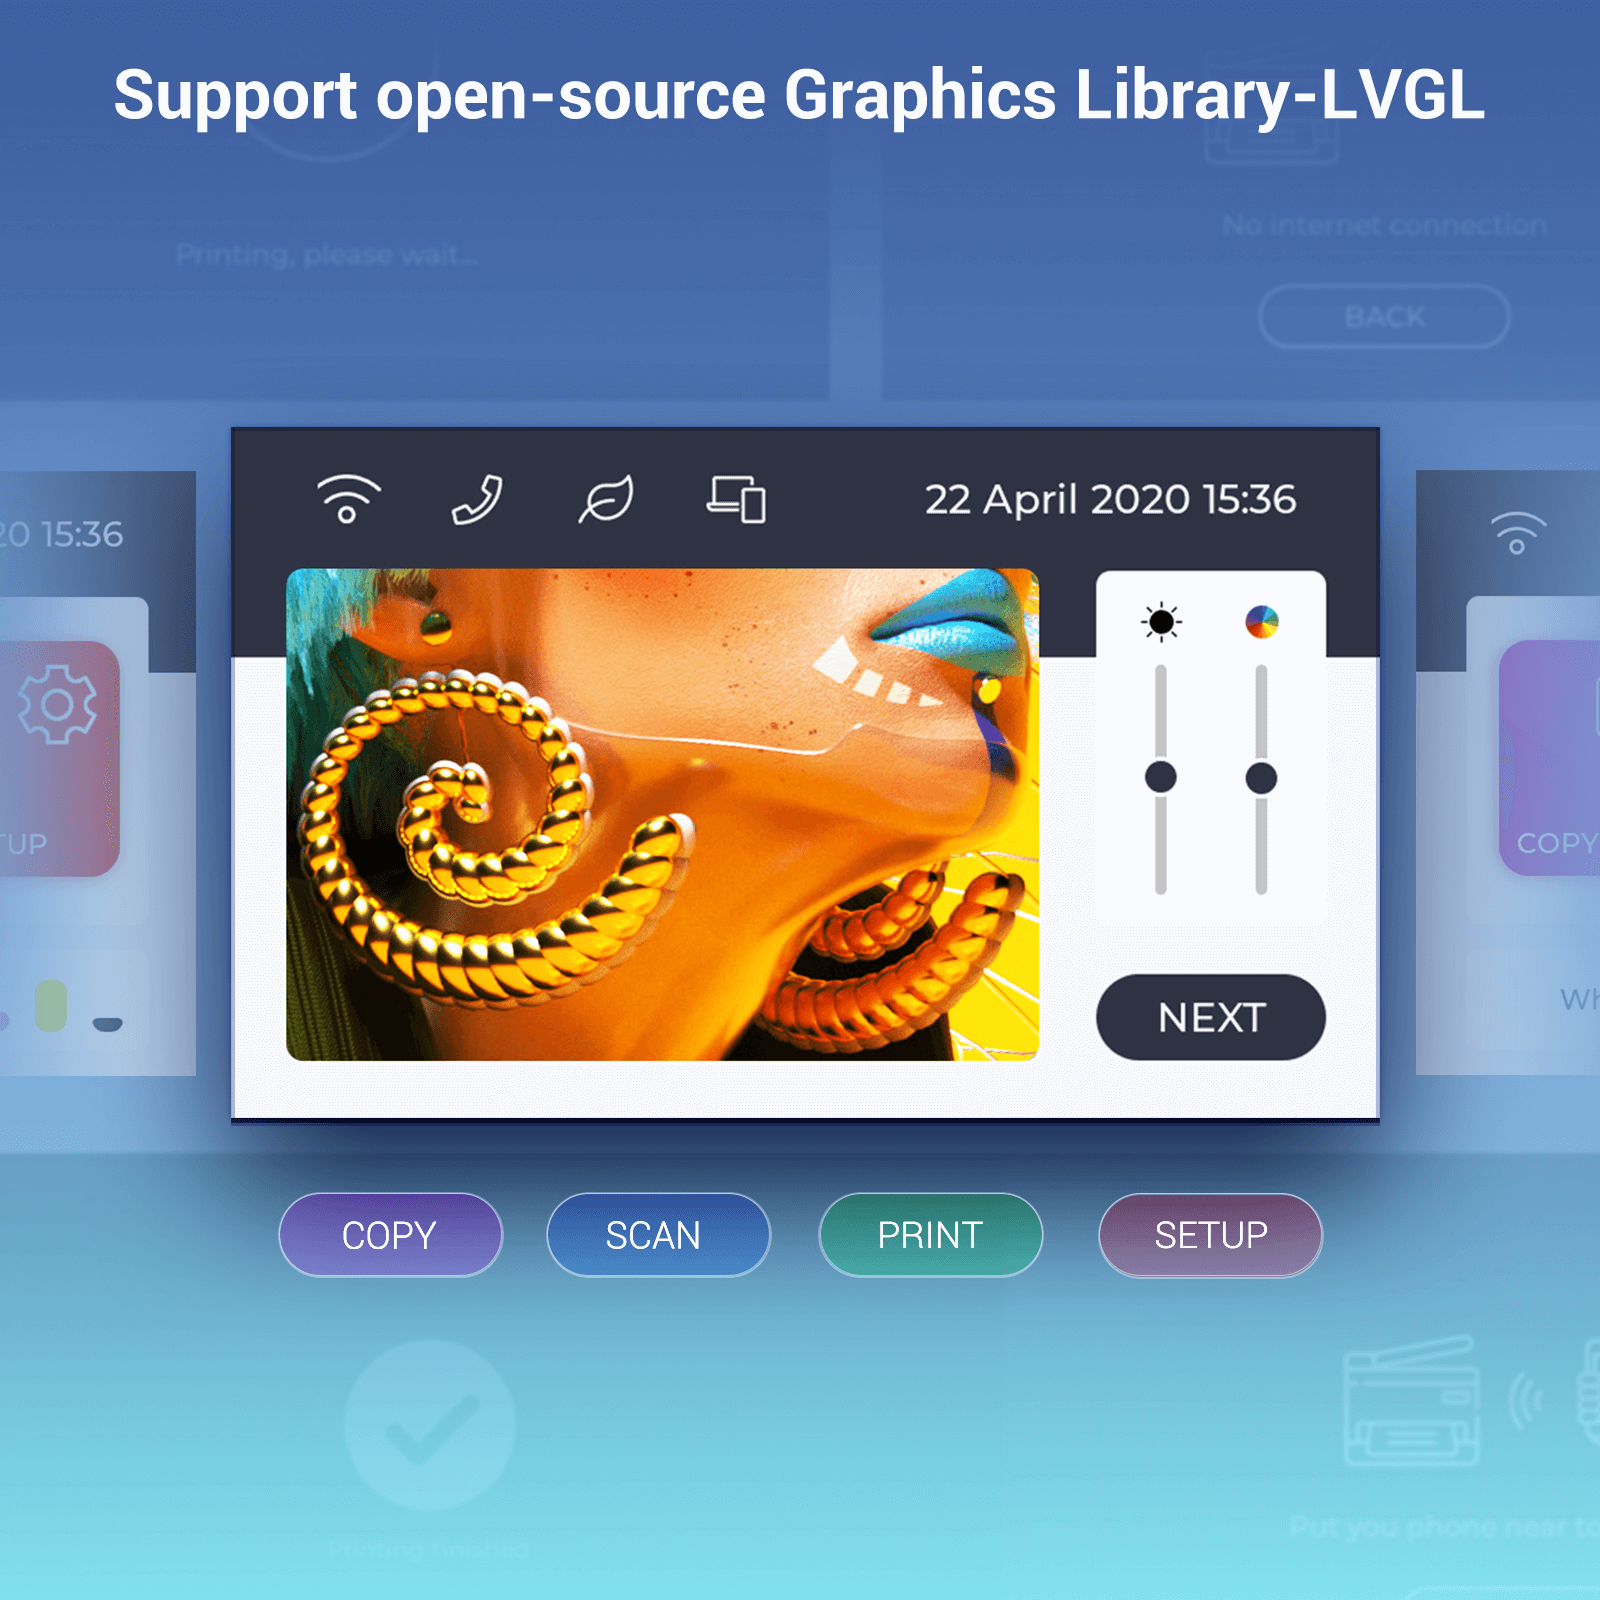
Support open-source Graphics Library-LVGL
It supports the LVGL graphics library. You can design a variety of UIs.
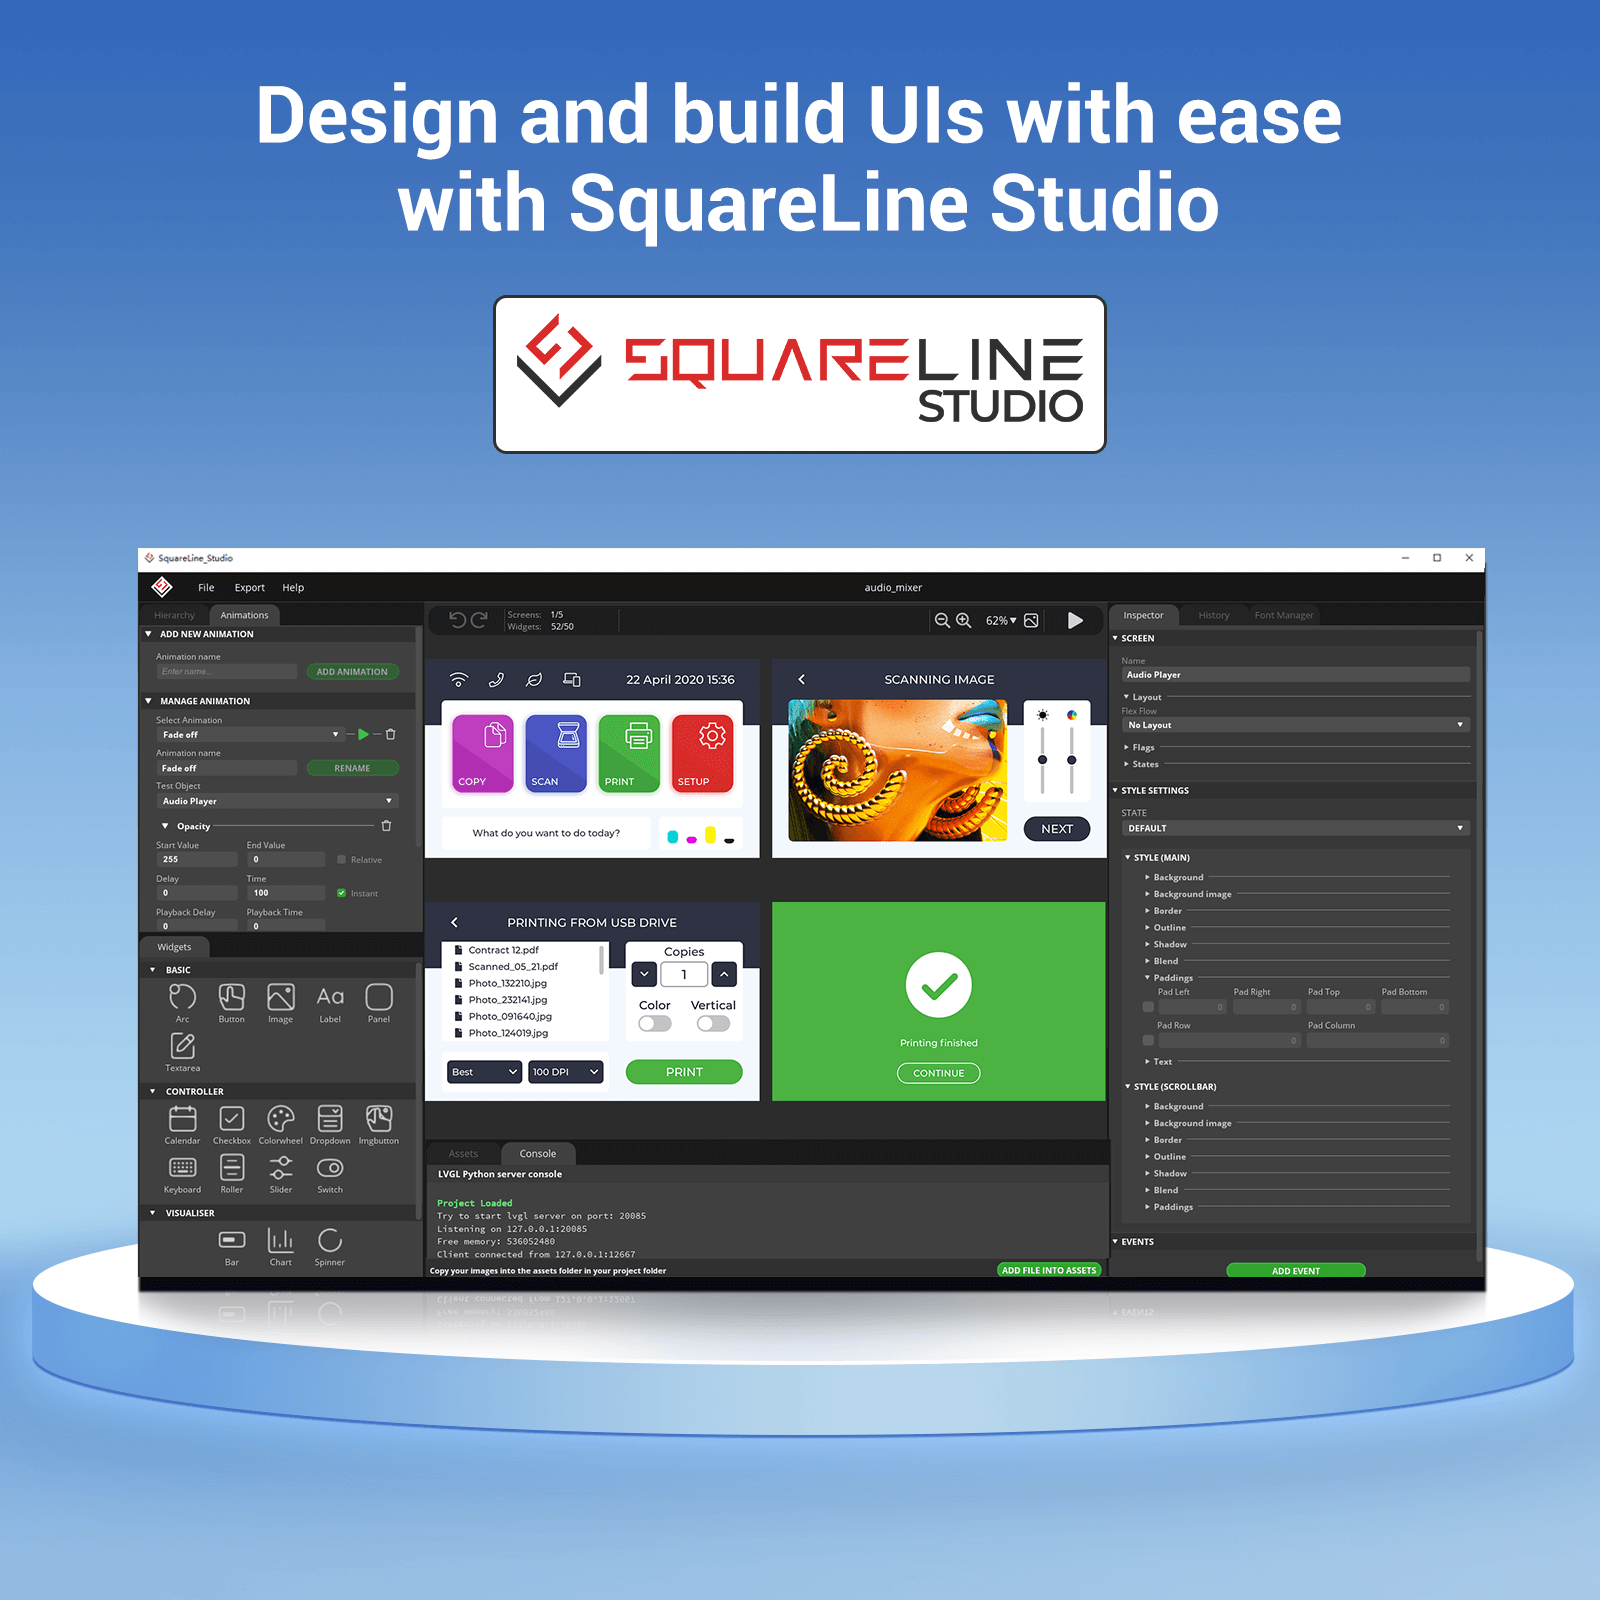
Design and build UIs with ease with SquareLine Studio
Use SquareLine Studios to design and implement your own LVGL UI and export ready to use projects with one click.
Squareline Vision has entered BETA, sign up now to get 40% off all licenses. https://vision.squareline.io/
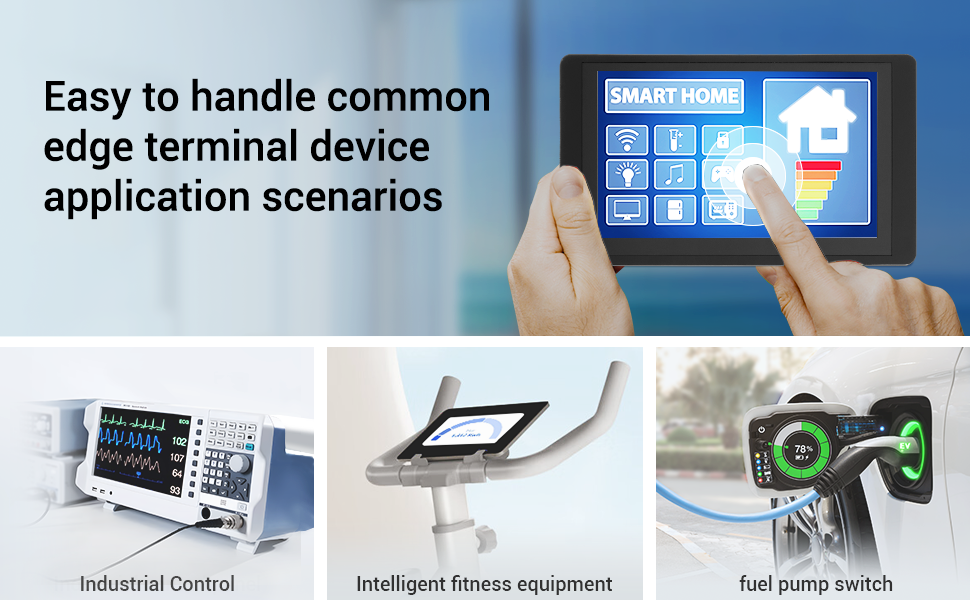
Application Scenario
It is suitable for various scenes such as automotive HMI, medical equipment, smart home, home automation, industrial control, civil electronics, and IoT application devices.

Hardware Deep Dive
1. Microcontroller: ESP32-WROVER Breakdown
| Feature | Details |
|---|---|
| Display | 4-inch or 5-inch TFT LCD (480×320 or 800×480) |
| Touchscreen | Capacitive (multi-touch support) |
| Microcontroller | ESP32-WROVER (Dual-core, 240MHz) |
| Wireless | Wi-Fi 4 & Bluetooth 4.2 |
| GPIO & Peripherals | USB, UART, I2C, SPI, SD card slot |
| Power Supply | 5V DC (USB or terminal block) |
| Programming | Arduino IDE, ESP-IDF, MicroPython |
CrowPanel ESP32 Display Comparison


Setting Up the CrowPanel
Step 1: Hardware Connections
-
Power via USB-C or 5V terminal input.
-
Connect peripherals (sensors, relays) via GPIO pins.
Step 2: Software Setup
-
Install Drivers (CP210x for USB-to-Serial).
-
Arduino IDE Setup:
-
Add ESP32 board support via
https://dl.espressif.com/dl/package_esp32_index.json. -
Select “ESP32 Dev Module” in Board Manager.
-
-
Example Code:
#include <TFT_eSPI.h>
TFT_eSPI tft = TFT_eSPI();
void setup() {
tft.init();
tft.setRotation(1);
tft.fillScreen(TFT_BLACK);
tft.setTextColor(TFT_WHITE);
tft.drawString(“Hello, CrowPanel!”, 50, 50);
}
void loop() {
Step 3: Touchscreen Calibration
-
-
Use ELECROW’s calibration tool (provided in their library).
-
Best Use Cases
✔ Home Automation Dashboard
-
Control smart lights, thermostats via Wi-Fi.
-
UI Tools: LVGL, SquareLine Studio.
✔ Industrial Control Panel
-
Monitor sensors (temperature, pressure) with real-time graphs.
✔ IoT Data Logger
-
Store readings on SD card or upload to Google Sheets.
Pros & Cons vs. Alternatives
| Aspect | CrowPanel HMI ESP32 | Nextion Display | Waveshare ESP32-S3 LCD |
|---|---|---|---|
| Programmability | Arduino/MicroPython | Proprietary editor | Arduino/CircuitPython |
| Touchscreen | Capacitive (better UX) | Resistive | Capacitive |
| Wireless | Wi-Fi/Bluetooth built-in | Requires add-ons | Wi-Fi only |
| Price | $$ (Mid-range) | $ (Budget) | $$$ (Premium) |
Project Ideas
-
Smart Farm Controller
-
Display soil moisture/temperature + control irrigation.
-
-
3D Printer Interface
-
Replace stock LCD with touchscreen controls.
-
-
Retail POS Terminal
-
Barcode scanning + payment UI.
-
Conclusion
The ELECROW CrowPanel HMI ESP32 is a powerful, user-friendly display for IoT and automation. Its touchscreen, wireless connectivity, and Arduino compatibility make it ideal for both beginners and advanced users.
External Resources
- Wiki
- User Manual
- Specification of LCD
- ESP32-S3-WROOM-1N4R8 Datasheet
- LVGL Reference
- openHASP Github
- For Tactility
- CE Certificate
- ESP32 Display Tutorial: Setting Up the Development Environment with CrowPanel丨Lesson 1
- ESP32 Display Tutorial: Draw GUI with LovyanGFX丨Lesson 2


Leave a comment
You must be logged in to post a comment.