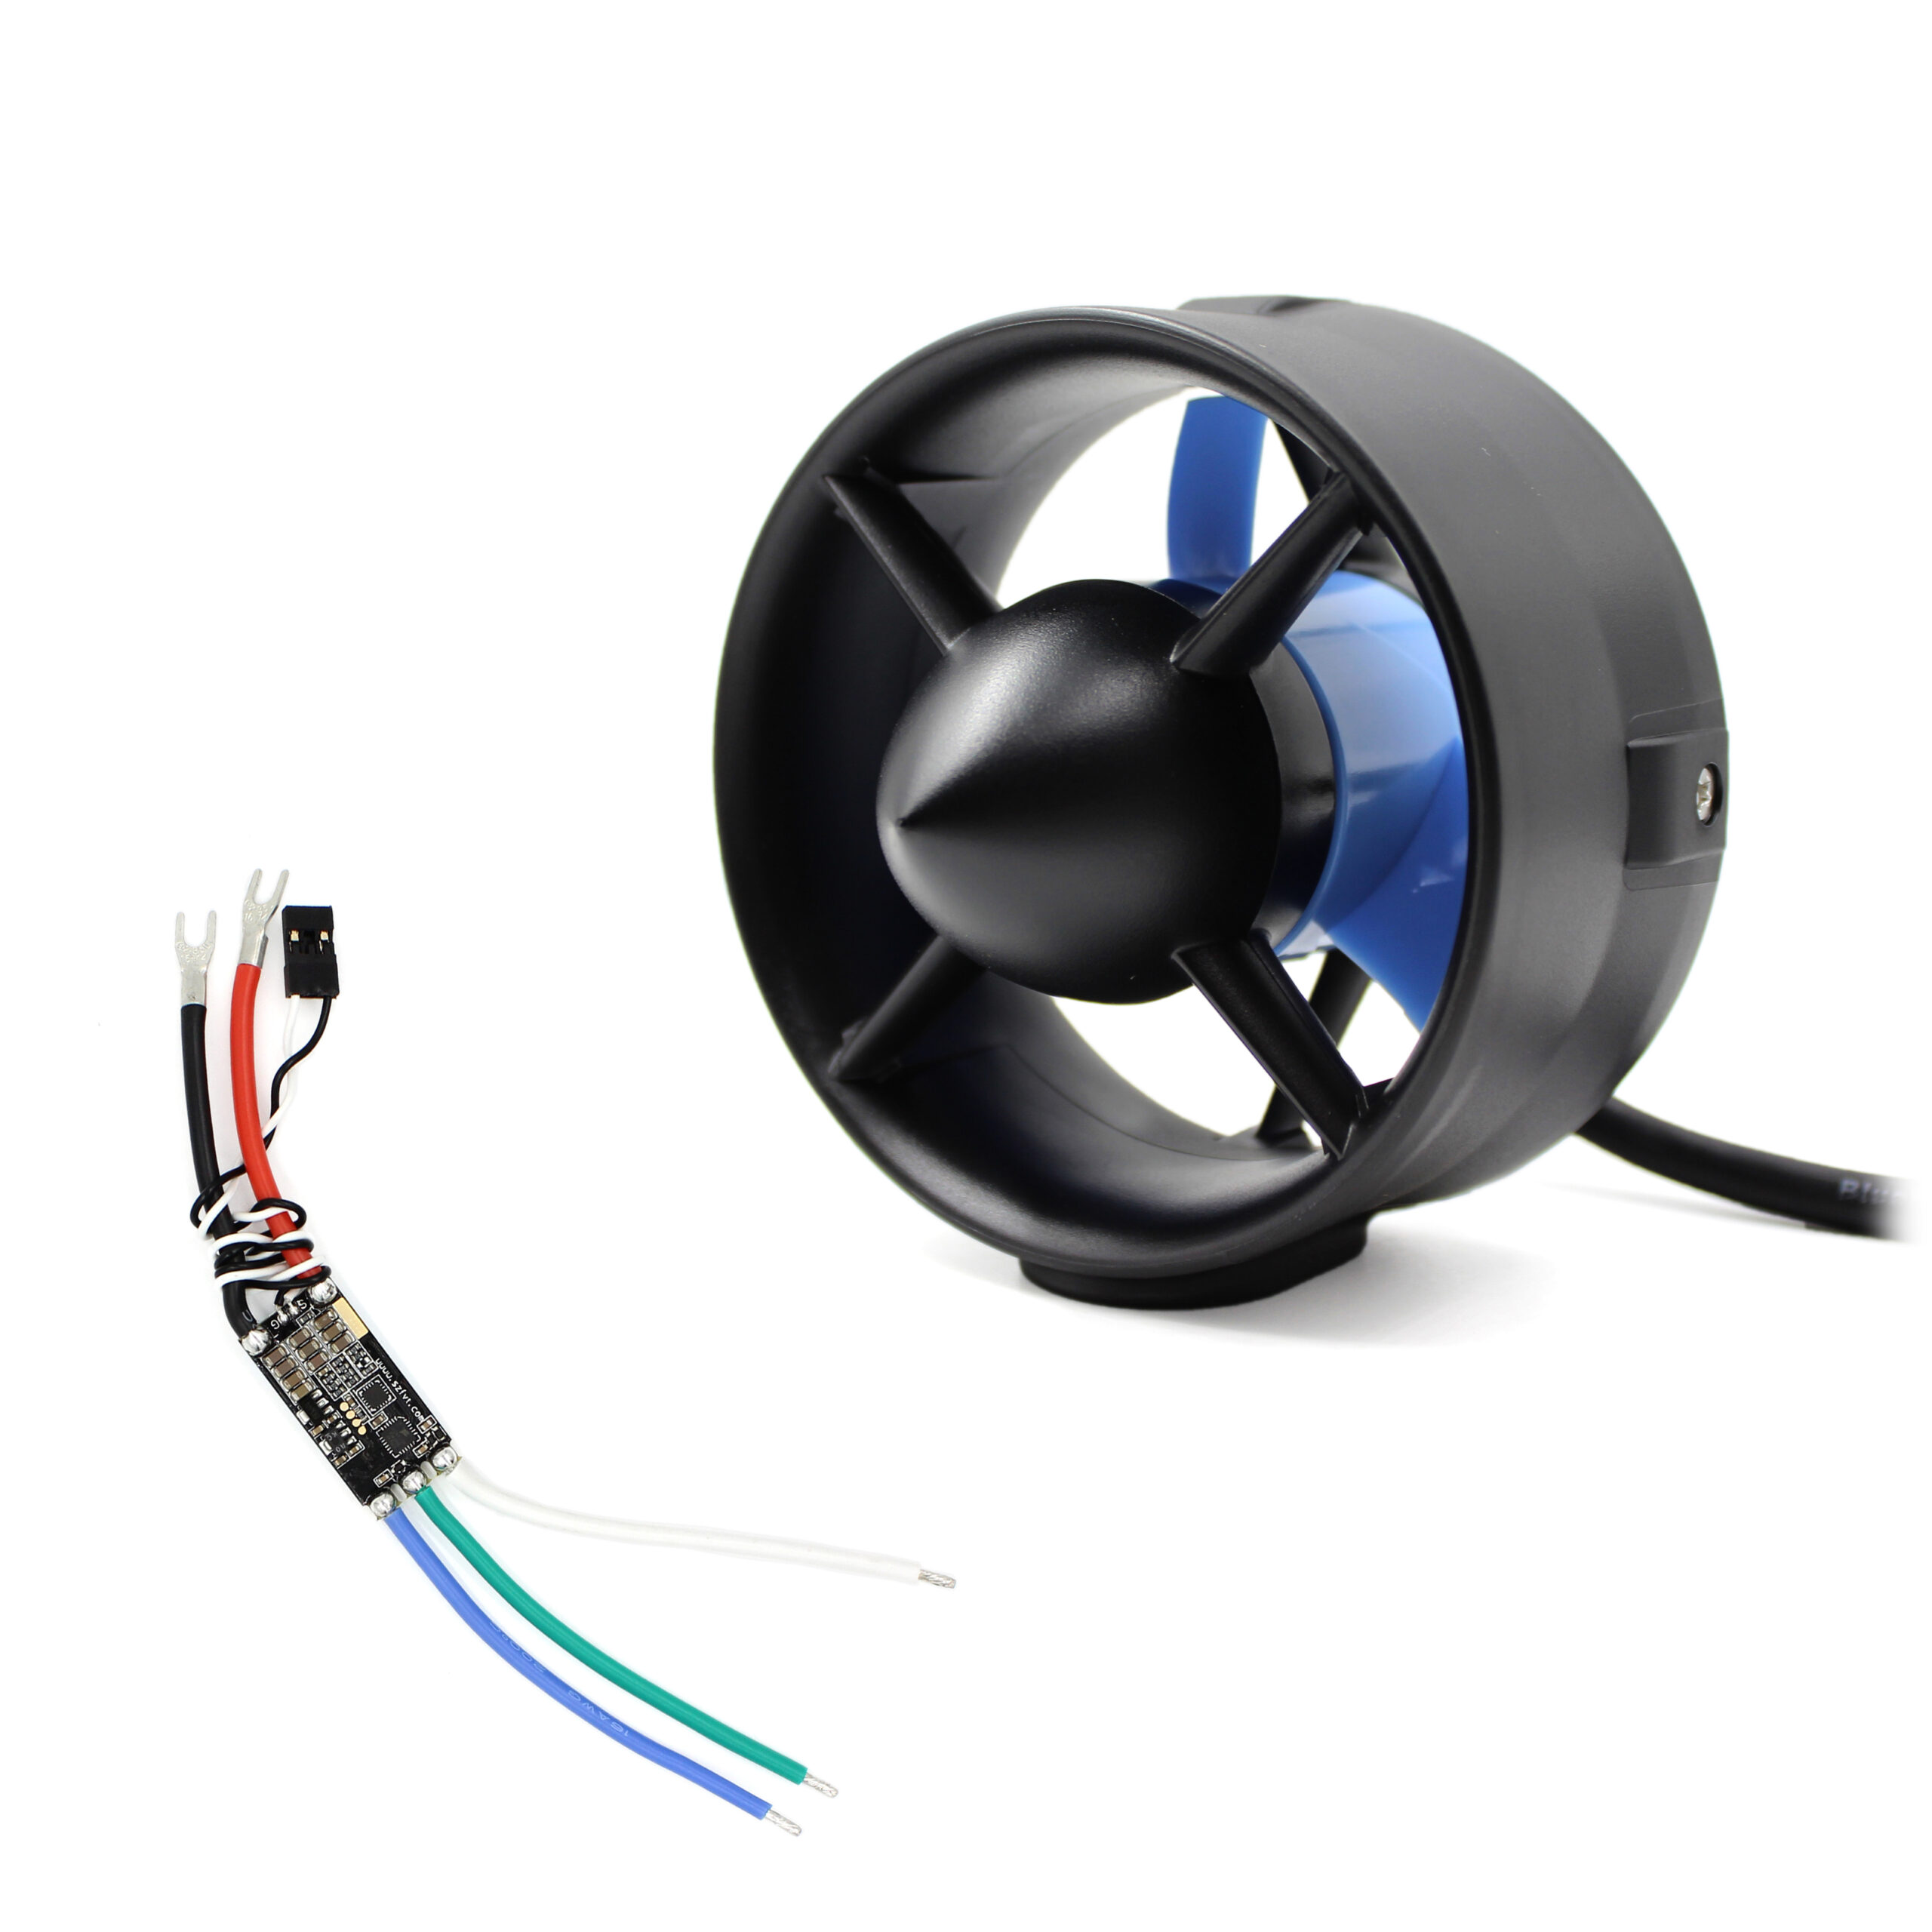


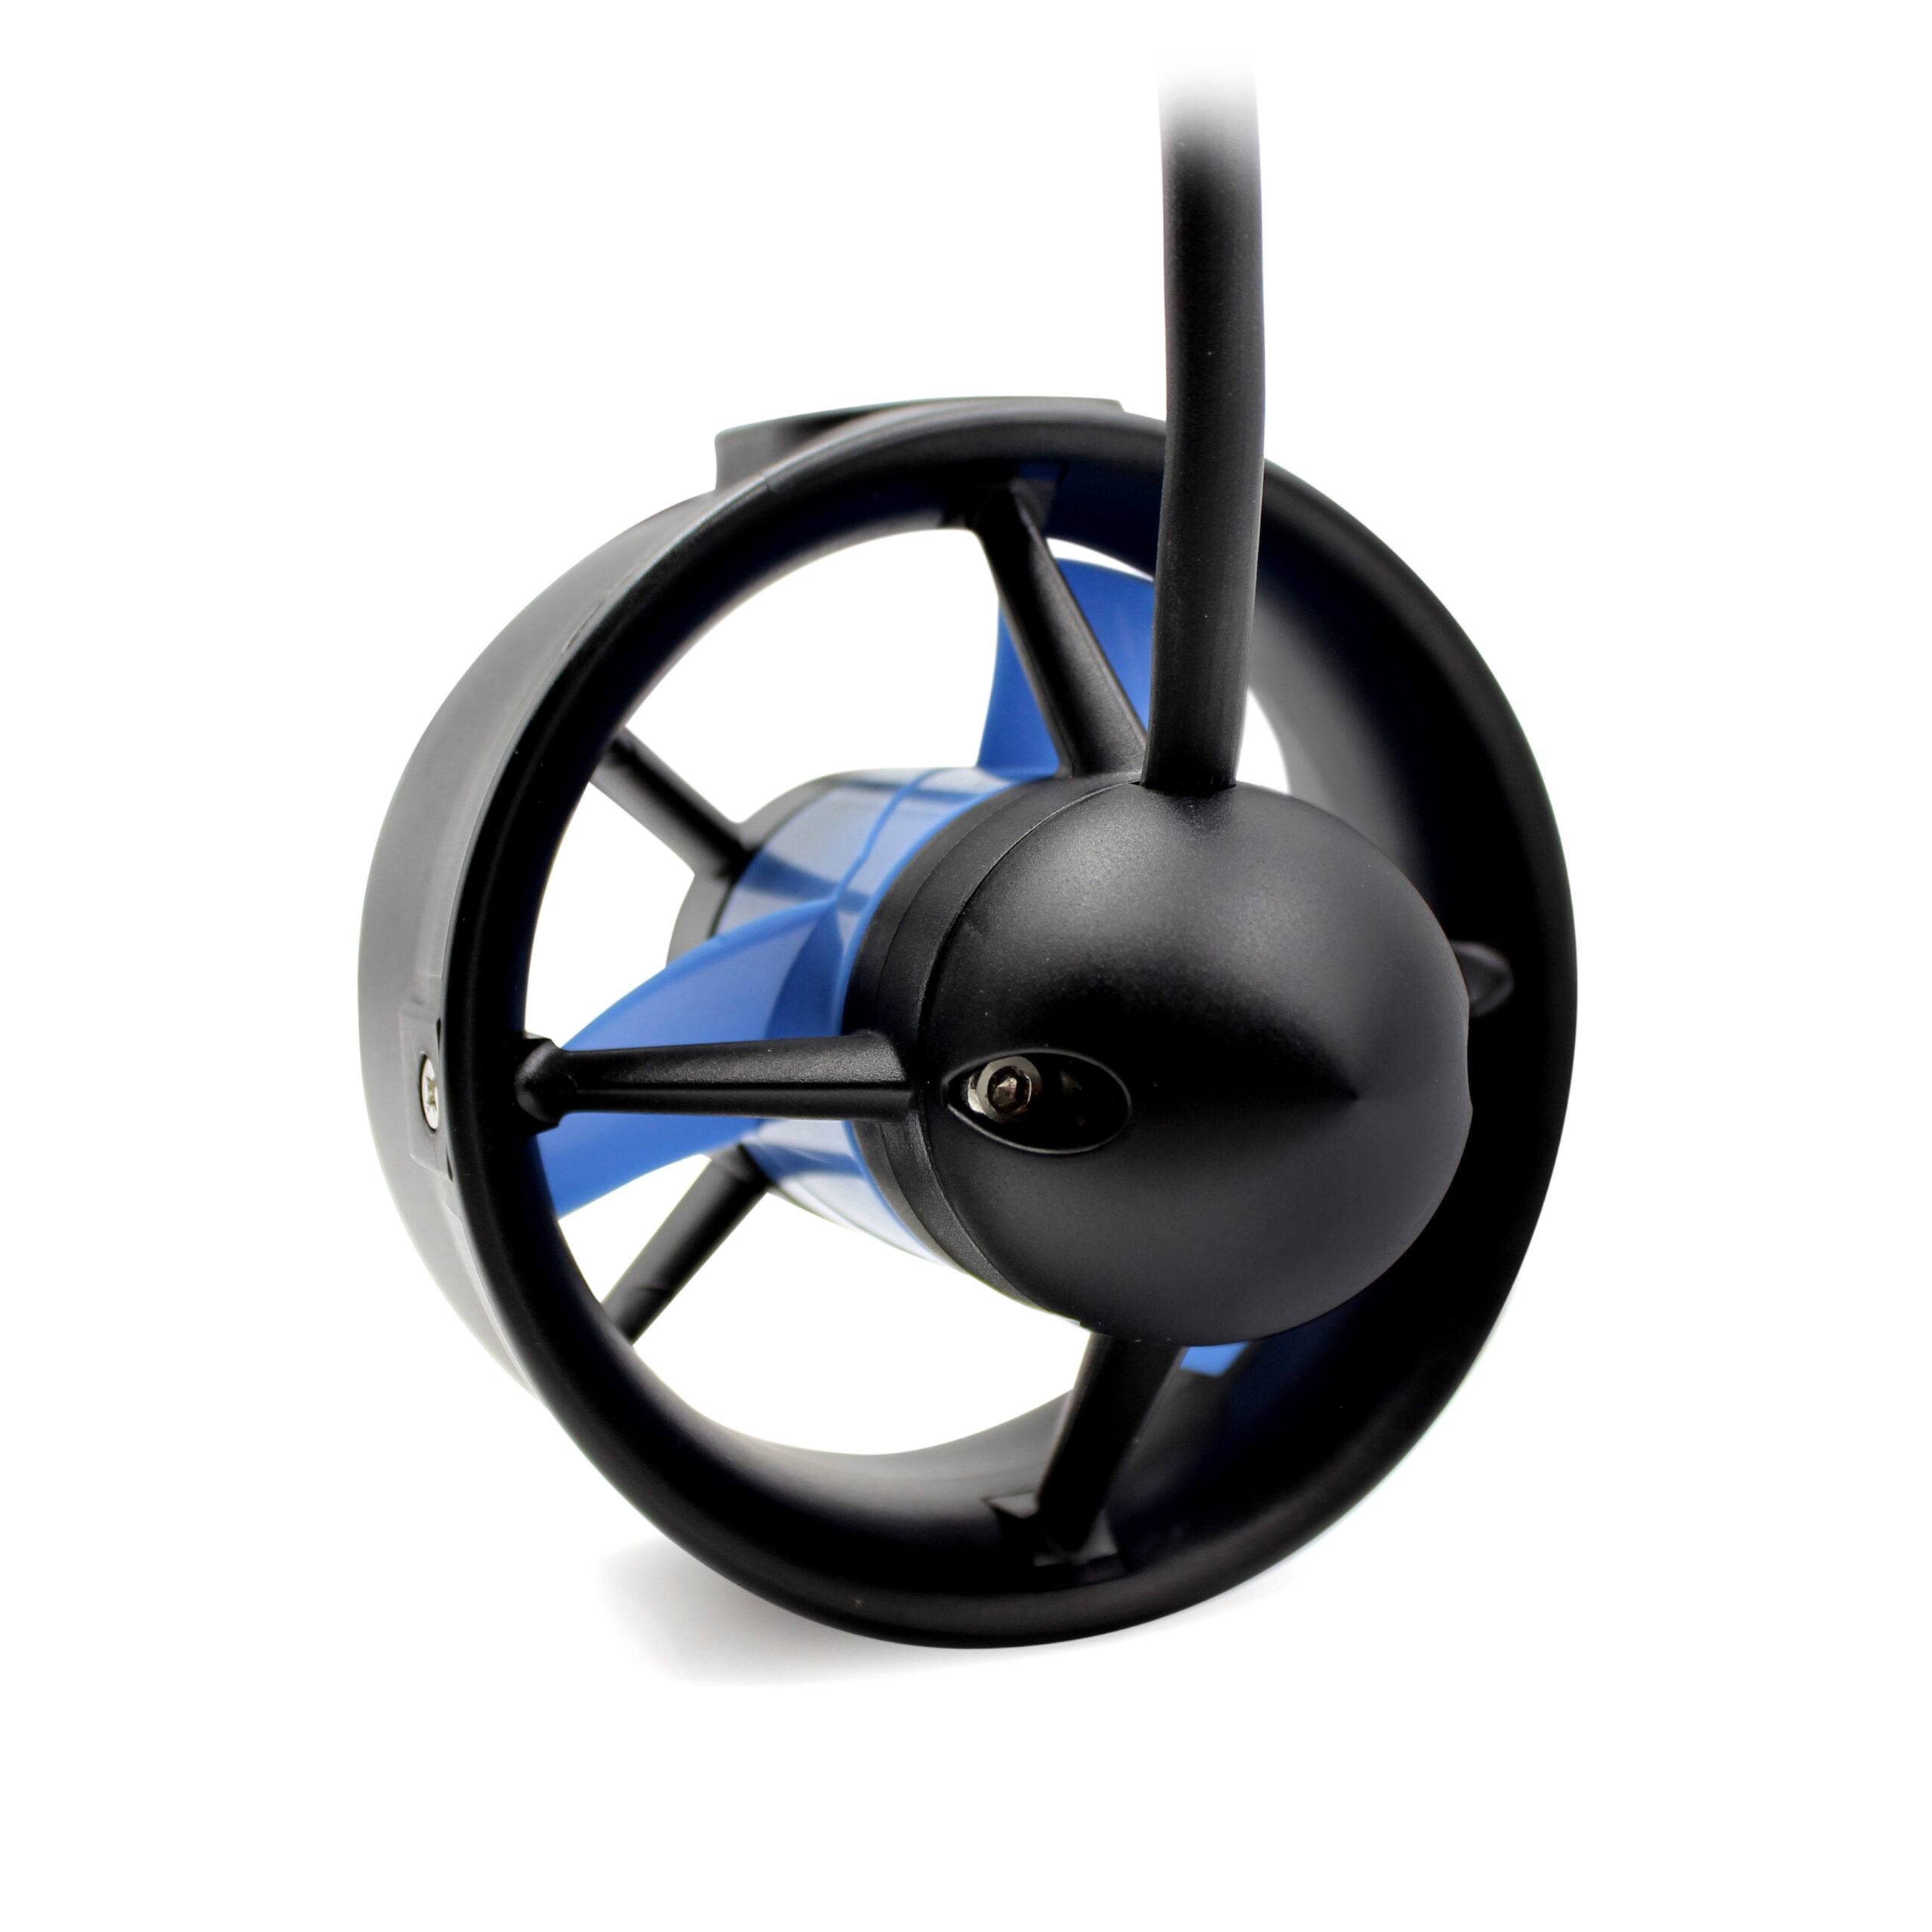
T200 Thruster Description
Our T200 Thruster was originally introduced in our 2014 Kickstarter campaign! Since then, it’s become the most popular underwater thruster in the world and there are thousands of them powering all sorts of marine ROVs, AUVs, boats, and even human-carrying vehicles!
Thruster Technology
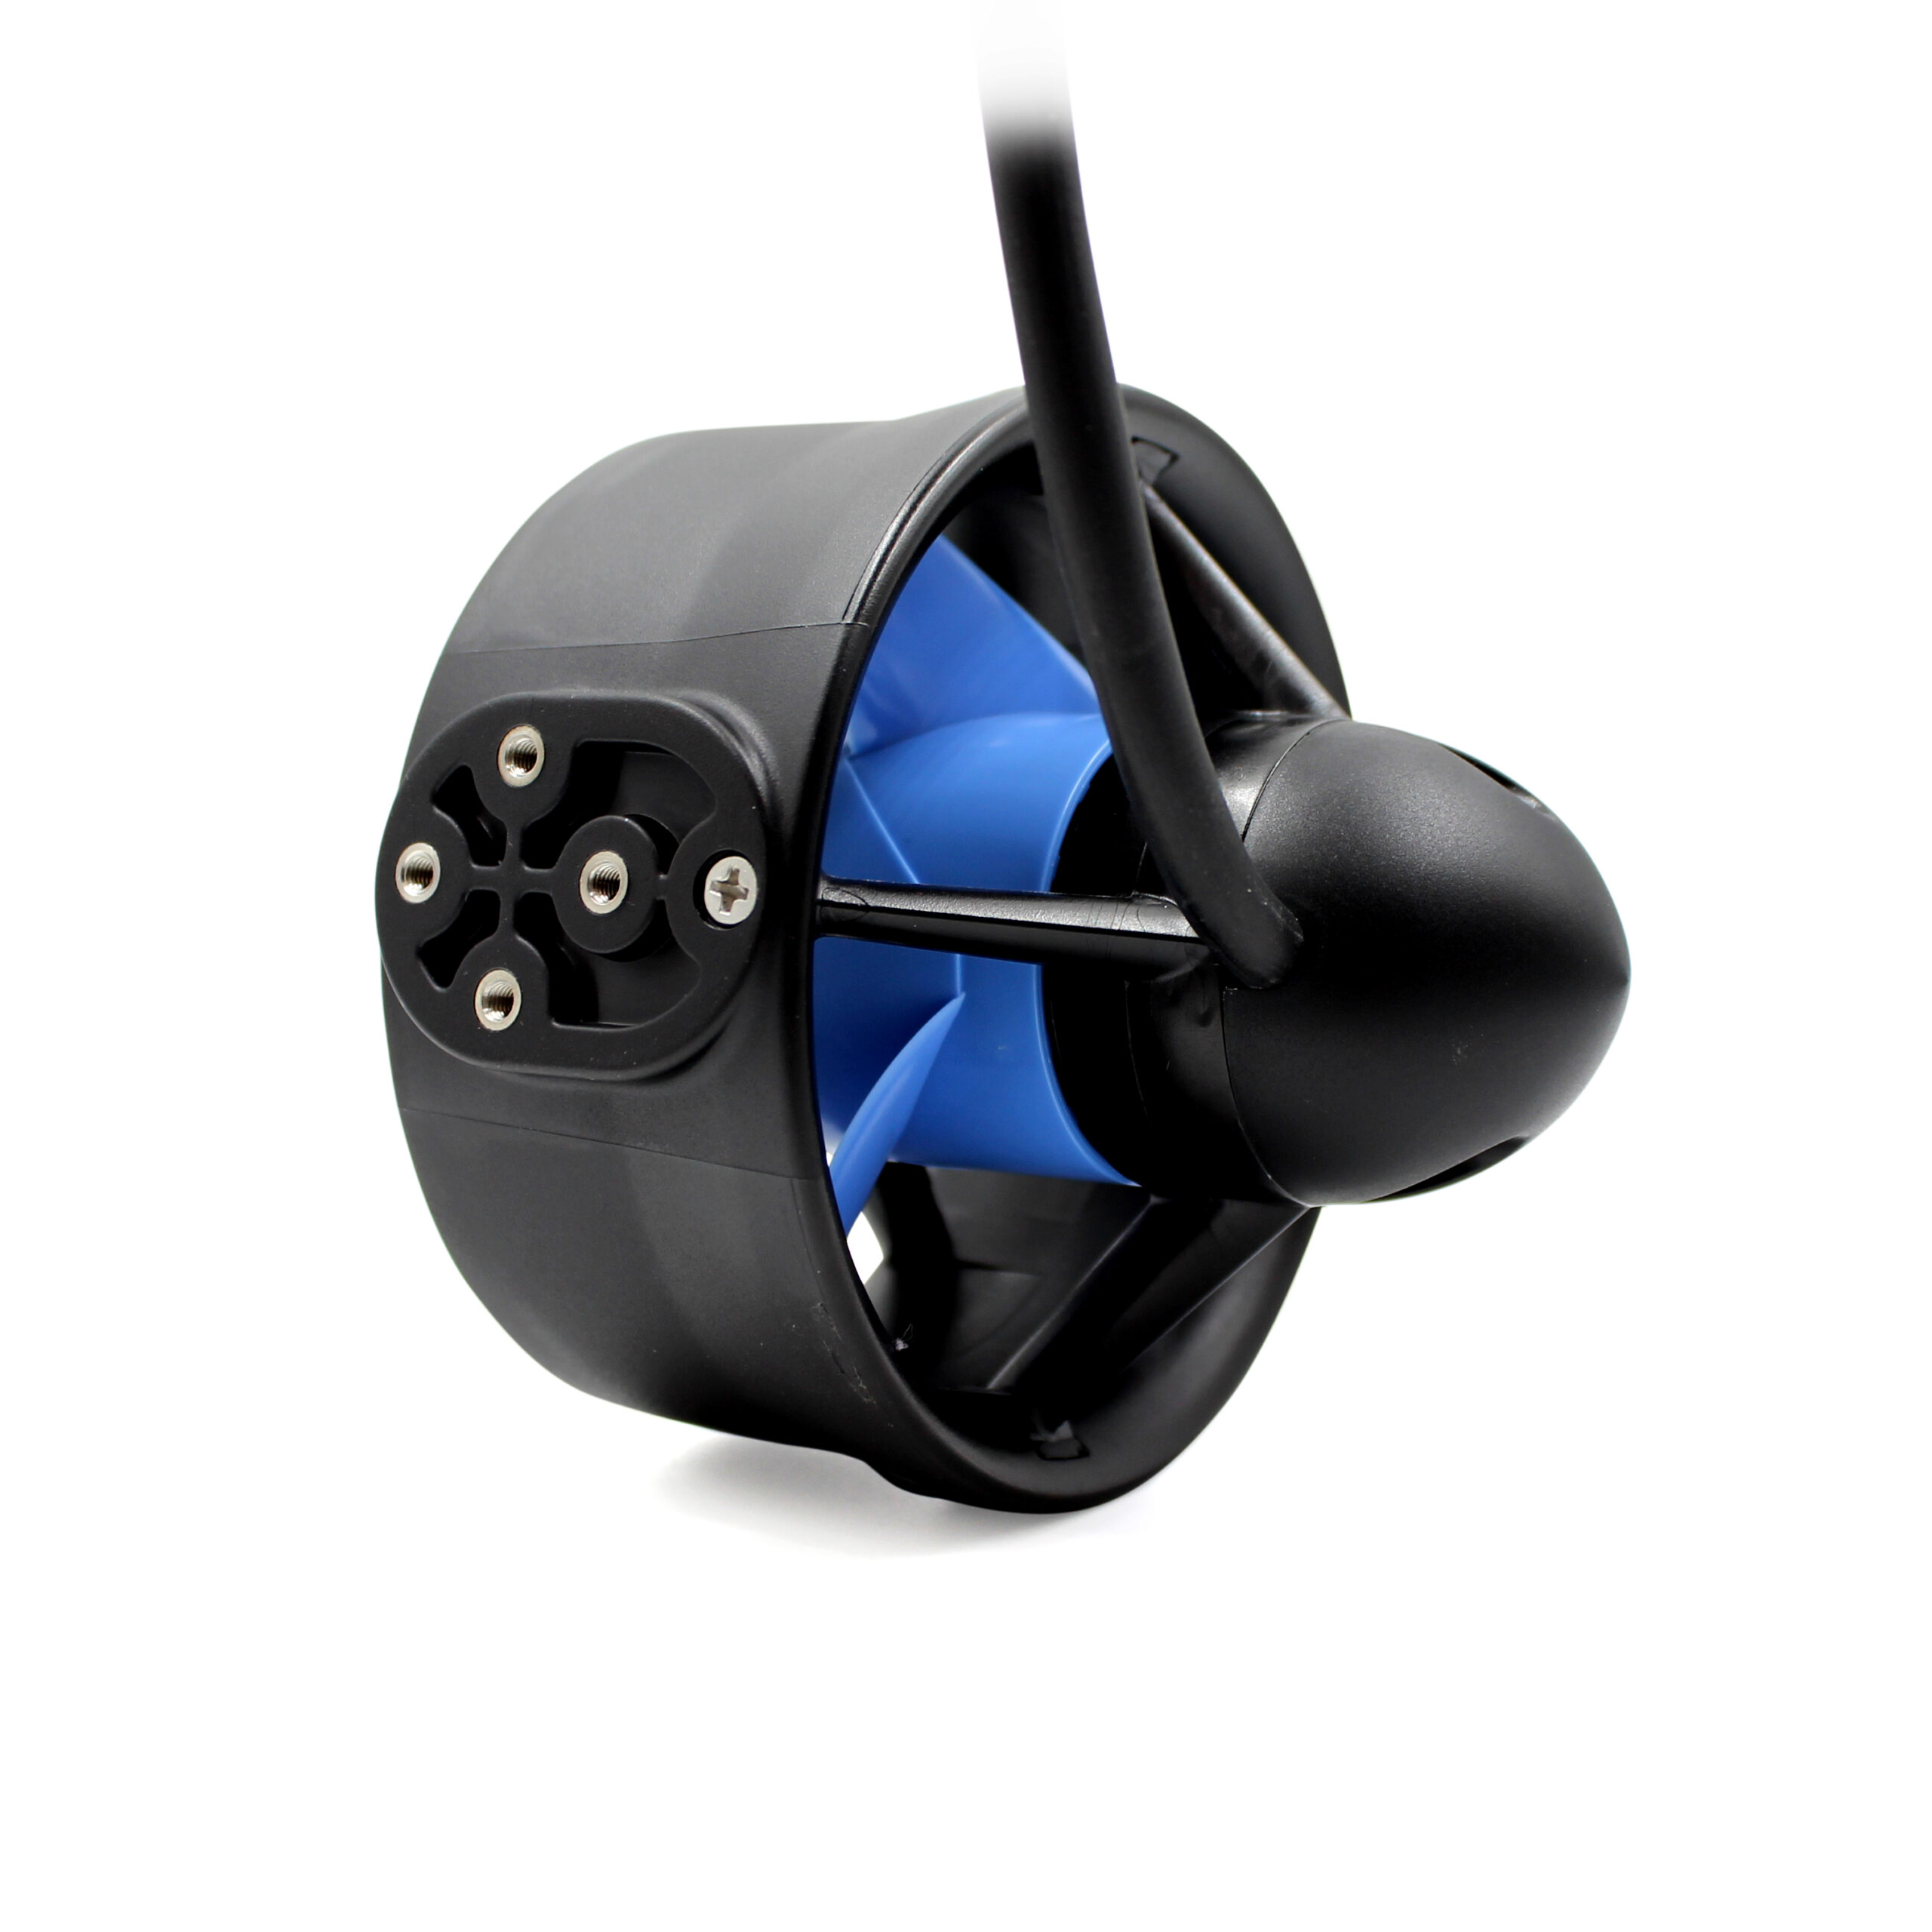
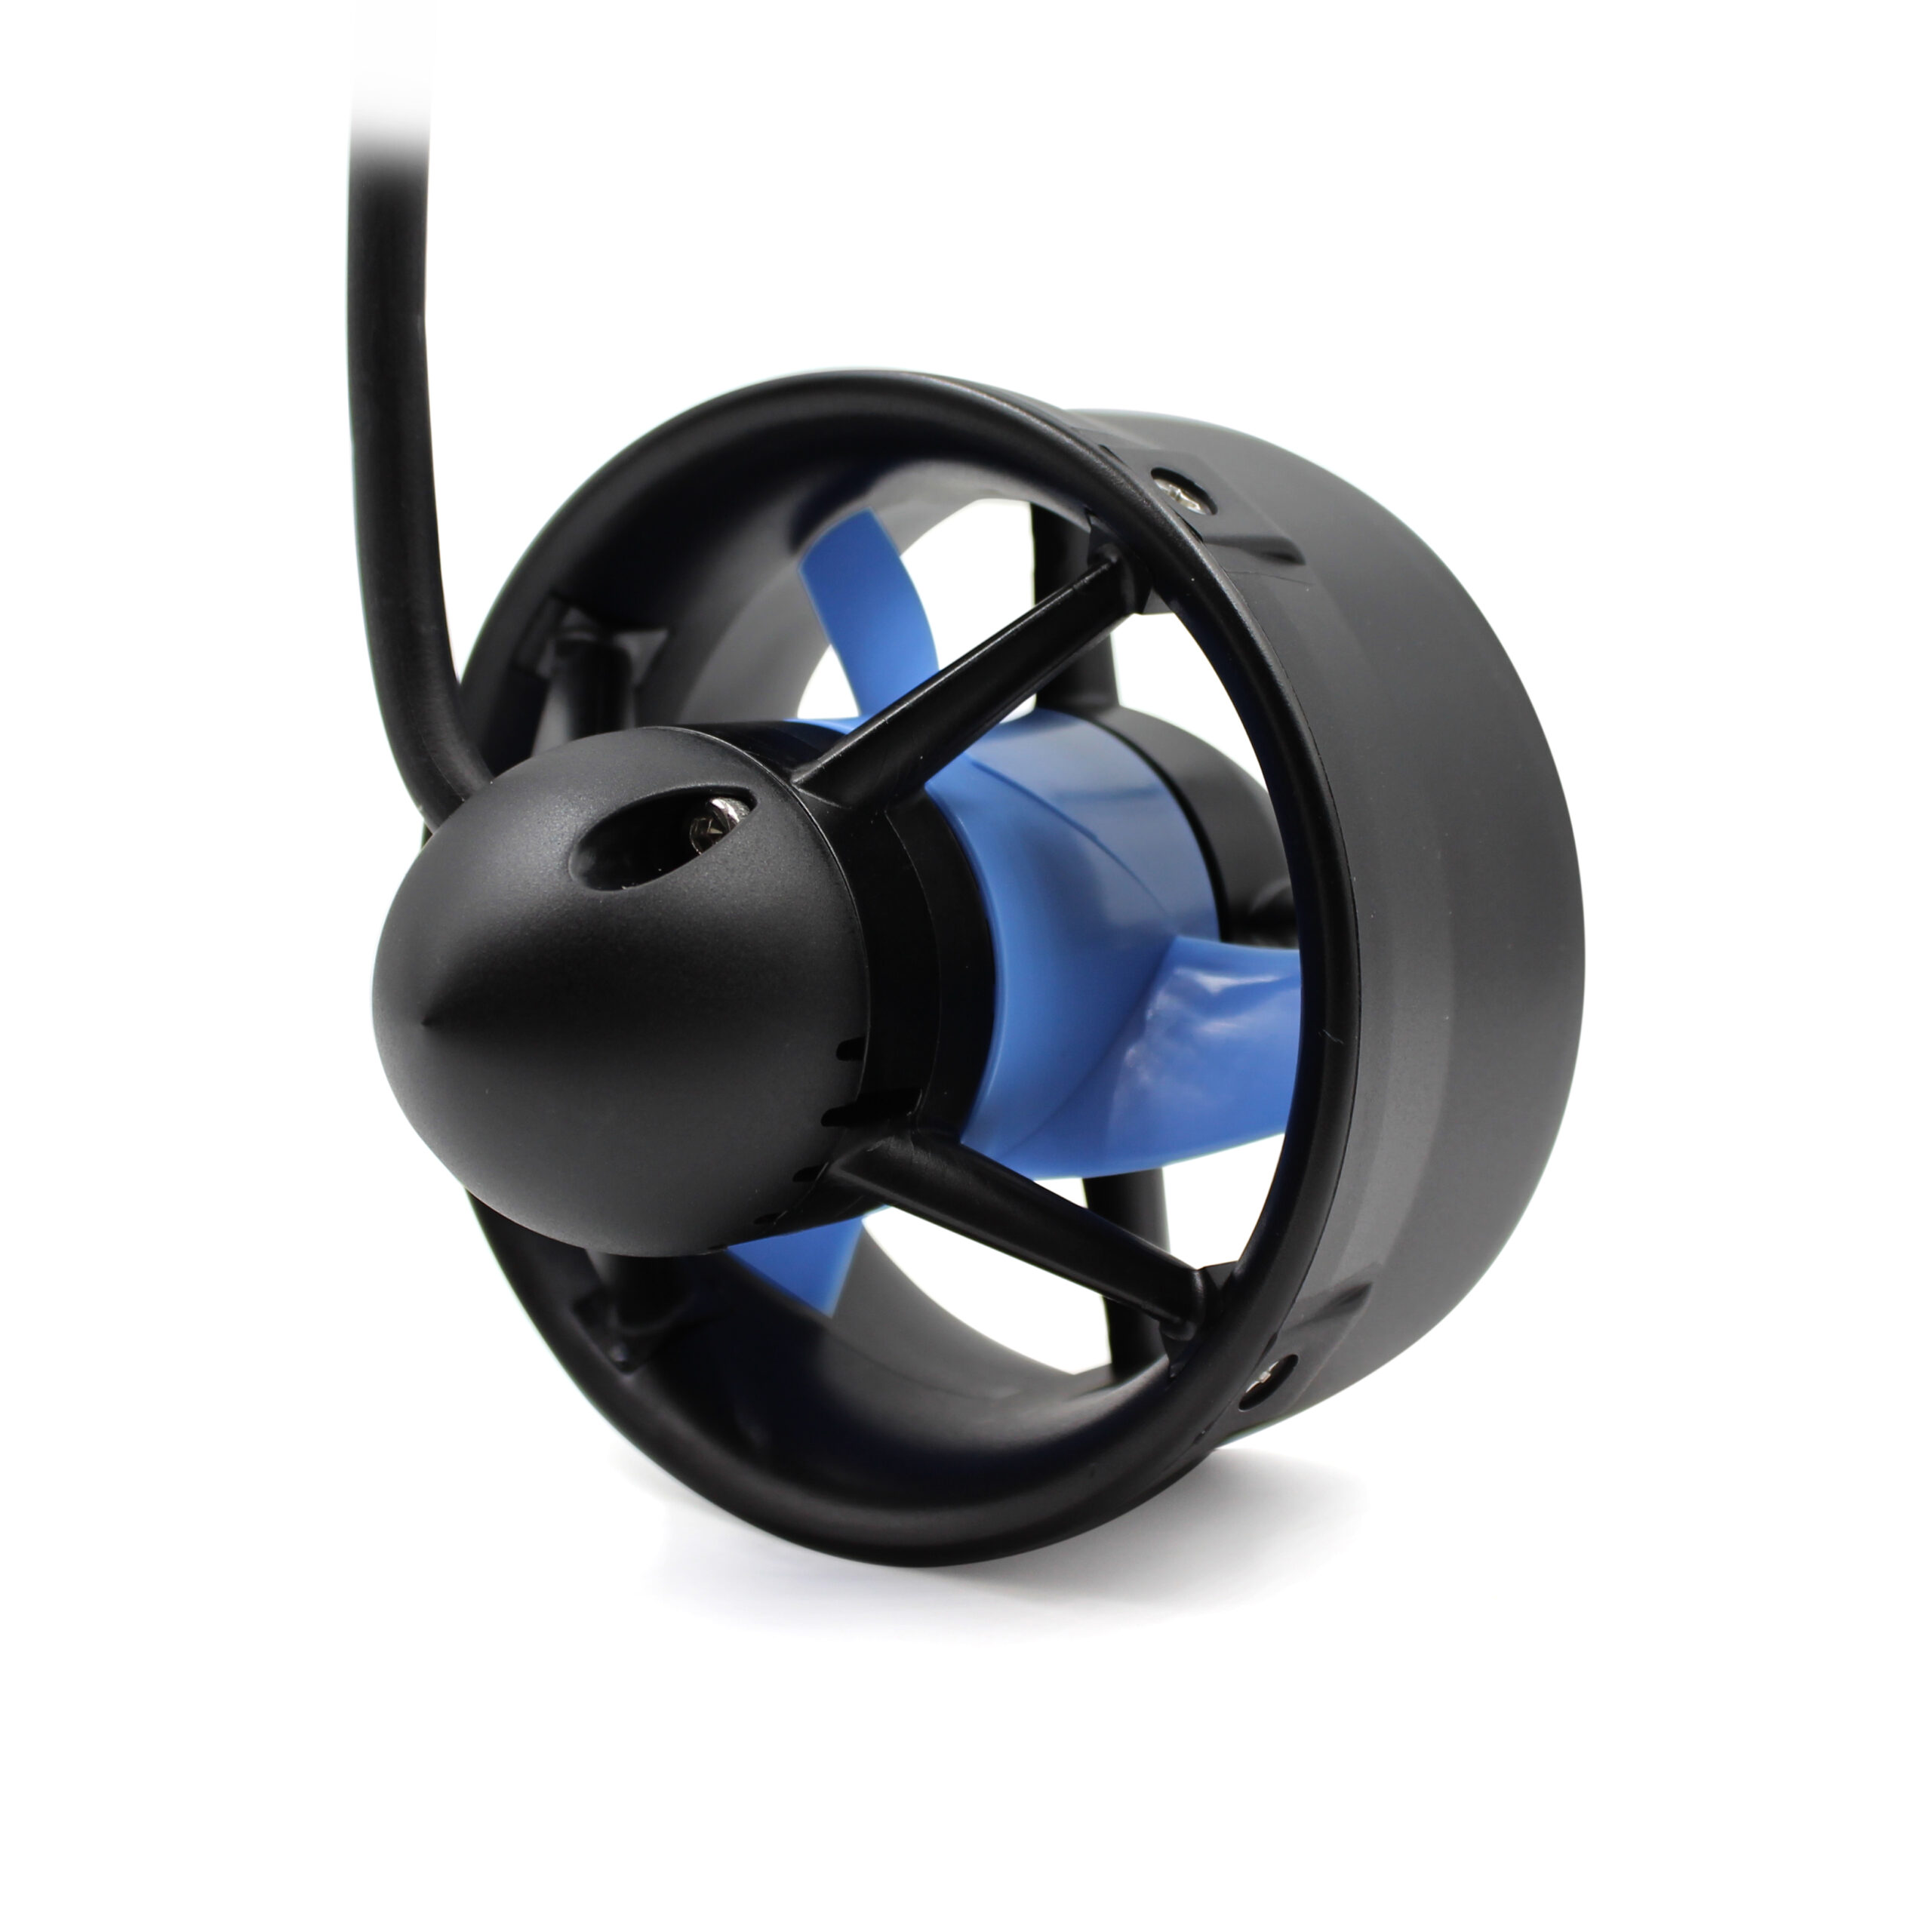
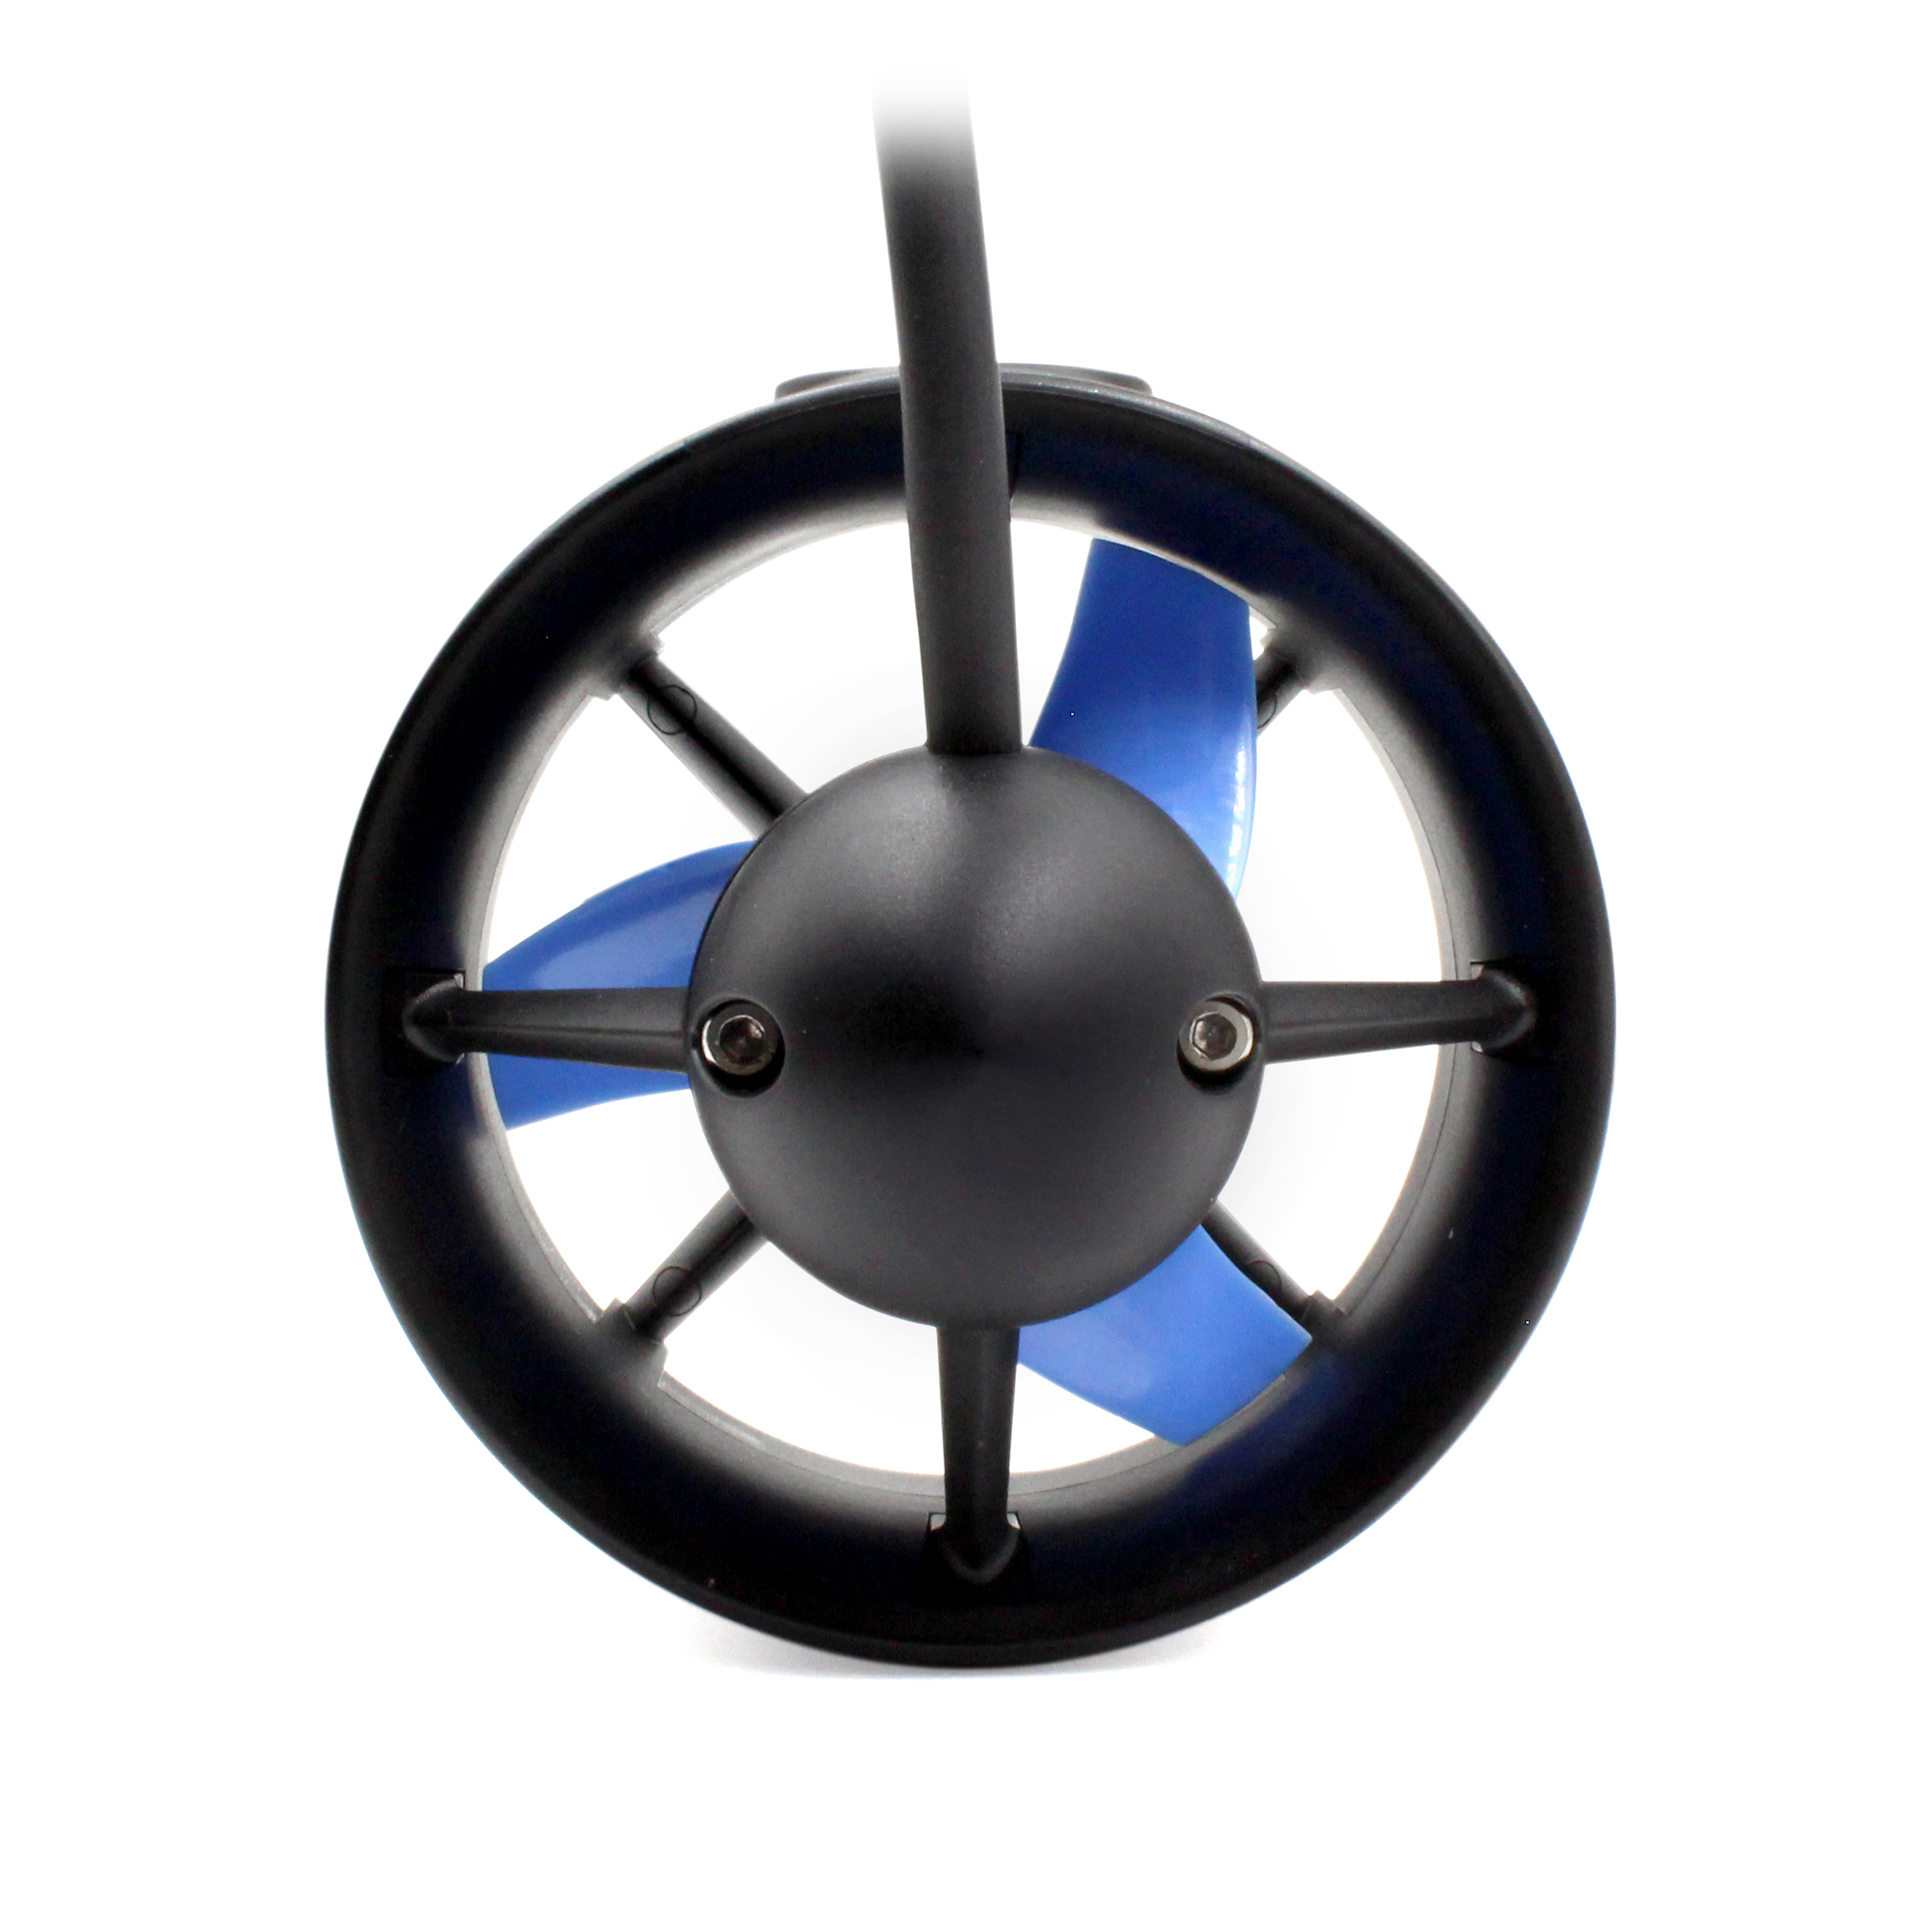
The T200 Thruster uses our patented underwater thruster design consisting of a fully-flooded brushless motor with encapsulated motor windings and stator as well as coated magnets and rotor. The thruster body and propeller are made from tough polycarbonate plastic and the only exposed metal components are made from marine grade 316 stainless steel.
The fully-flooded design is unique compared to thrusters existing before the T200. It allows the motor to be water-cooled and the plastic bushings to be water-lubricated. It eliminates the need for shaft seals, magnetic couplings, and air- or oil-filled compartments, making the thruster naturally pressure tolerant. The design is compact and has a minimal number of parts so that we can offer it at an affordable price.
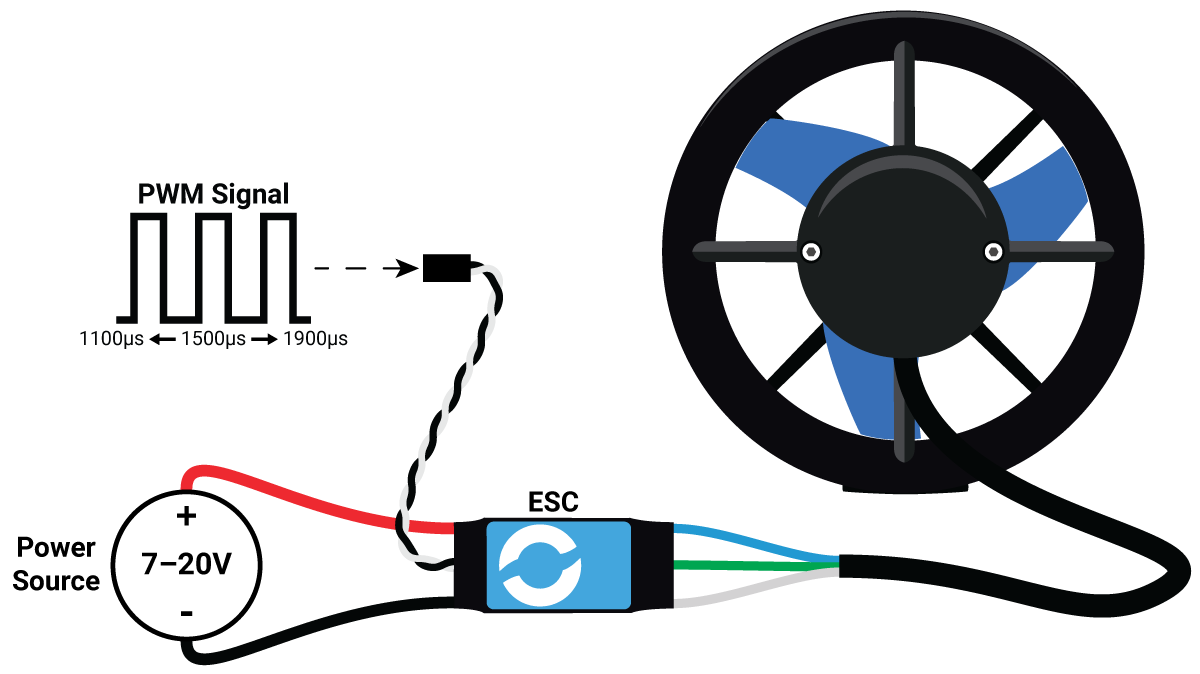
The core motor design is a three-phase brushless outrunner motor, similar to what you’d see on drones and RC airplanes, but optimized for underwater use. A sensorless brushless electronic speed controller (ESC) like our Basic ESC is required to run the thruster in all situations. It’s optimized to run at a voltage of 16v (such as a 4s lithium-ion battery pack), but can run at a range of voltages. Check out the detailed performance charts on the Technical Details tab for more information.

ROV, AUV, and Underwater Drone Thruster Applications
The T200 Thruster is used on a number of underwater ROVs, AUVs, and underwater drones including our flagship underwater ROV, the BlueROV2, as well as our Distributor JM Robotics‘ ROVs. The thrusters provide compact but powerful underwater propulsion on the ROV.
The thrusters are also used on AUV platforms, making autonomous underwater robotics an affordable possibility for researchers, scientists, and businesses.
The T200 Thruster powers a number of underwater drones designed to inspect, explore, and film underwater infrastructure, ships, aquaculture pens, and shipwrecks.

MATE, RoboSub, and Robotics Competition Applications
In addition to commercial and research applications, the T200 Thruster is the thruster of choice for MATE ROV competitions, the RoboSub AUV competition, and other competitions including RoboBoat, European Robotics League (ERL), and the Singapore AUV Challenge (SAUVC). The T200 provides an affordable and reliable thruster option to replace the bilge pump motors and expensive thrusters used in the past.

MATE ROV Competition 2023 World Championship
USVs, Kayaks, and SUPs Thruster Applications
The T200 Thruster can propel robotic unmanned surface vessels (USVs) and flexible mounting options make it easy to turn just about anything that floats into a USV! We’ve seen it used on anything from a boogie board to a commercial grade survey vessel.
Combined with a battery, ESC, and the Thruster Commander, it’s easy to use on a kayak or stand-up paddleboard (SUP) as well! Two T200s on a paddleboard will get it moving at over 3 knots!

Using the T200 Thruster
The T200 Thruster comes ready to use and includes both clockwise and counterclockwise propellers. In addition to the thruster, you need a speed controller like our Basic ESC, a power source like our battery, and a signal source, such as our Thruster Commander, an RC radio receiver, or a microcontroller like the Arduino or Raspberry Pi.
There is a wealth of available technical information, charts, code examples, and tutorials on the Technical Details and Learn sections of this page as well as support through our online forum community. There you can find users doing all sorts of interesting things ranging from generative ROV design to freediving jet boots to lionfish hunting robots!
We’re excited to see what YOU do with it!
Specifications: T200 Thruster
| Parameter | Value |
| Performance | |
| Full Throttle FWD/REV Thrust @ 12 V | 3.71 / 2.92 kg f |
| Full Throttle FWD/REV Thrust @ Nominal (16 V) | 5.25 / 4.1 kg f |
| Full Throttle FWD/REV Thrust @ Maximum (20 V) | 6.7 / 5.05 kg f |
| Minimum Thrust | 0.02 kg f* |
| Electrical | |
| Operating Voltage | 7–20 volts |
| Full Throttle Current (Power) @ 12 V | 17 Amps (205 Watts) |
| Full Throttle Current (Power) @ Nominal (16 V) | 24 Amps (390 Watts) |
| Full Throttle Current (Power) @ Maximum (20 V) | 32 Amps (645 Watts) |
| Physical | |
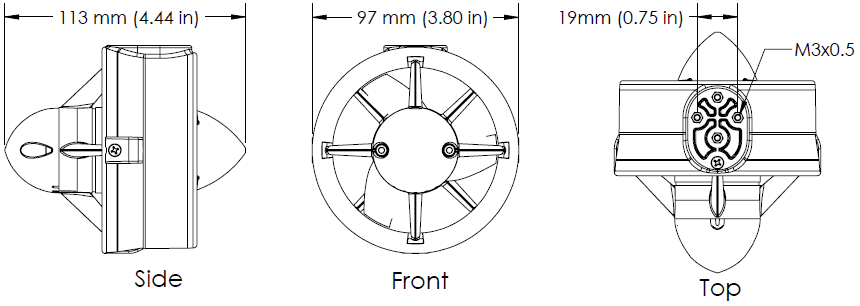
| Length | 113 mm |
| Diameter | 100 mm |
| Wetted Materials | Polycarbonate Epoxy Stainless steel 316 Plastic Polyurethane |
| Weight in Air (with 1m cable) | 344 g |
| Weight in Water (with 1m cable) | 156 g |
| Propeller Diameter | 76 mm |
| Mounting Hole Threads | M3 x 0.5 |
| Mounting Hole Spacing | 19 mm |
| Cable | |
| Cable Used | BR-100997 |
| Cable Length (Standard T200) | 1.0 m |
| Cable Length (T200 BlueROV2 Spare) | 0.71 m |
| Conductor Gauge | 16 AWG |
| Compatible WetLink Penetrator | WLP-M10-6.5MM-LC |
Note that nominal operation at 12–16 V is recommended for the best balance of thrust and efficiency, though operation at up to 20 V is allowable. Exceeding 20 V is not within the rating and not recommended, please see here for more information.
For more detailed performance specifications, including thrust, RPM, power, and efficiency at various throttle levels and supply voltages from 10-20 V, please see the performance charts below.
2D Drawings
Guides
Quick Start
- Connect thruster wires to ESC motor phase wires.
- Connect the ESC to a power source.
- Connect the ESC signal wire to a signal source.
- Send a signal and the thruster will start spinning. That’s it.
Important Notes
- Always practice caution when you’re working with electricity in water.
- Keep body parts away from the thruster inlet and outlet to avoid injury. Always practice caution with the spinning blades of the propeller.
- Do not operate the thruster for more than 10 seconds outside of water (while dry). The bearings require water for lubrication and may be damaged if the thruster is operated for an extended period of time while dry.
- Avoid sucking seaweed or other objects into the thruster to avoid damage.
- Most threadlockers are not chemically compatible with polycarbonate and will damage the thrusters if used on any of the screws. Only use a threadlocker that is chemically compatible with polycarbonate on the mounting screws if necessary.
- A clicking sound or noisy thruster is normal, especially when operated while dry. Most noise and vibration go away once the thruster is operated in water.
Basic ESC Description
An electronic speed controller (ESC) is necessary to run any three-phase brushless motor like Blue Robotics’ thrusters and motors. This 30 amp ESC is sufficient for the T200 thruster and runs the BLHeli_S firmware.
Key Features
- Simple, robust brushless electronic speed controller
- Compact form factor
- Forward/reverse rotation direction for forward/reverse thrust
- Customizable settings in an easy-to-use interface
- High-efficiency, low-heat design optimized for minimal cooling environments
Specifications of Basic ESC
| Parameter | Value | |
| Electrical | ||
| Voltage | 7-26 V (2-6S) | |
| Max Current (Constant) | 30 A (depending on cooling) | |
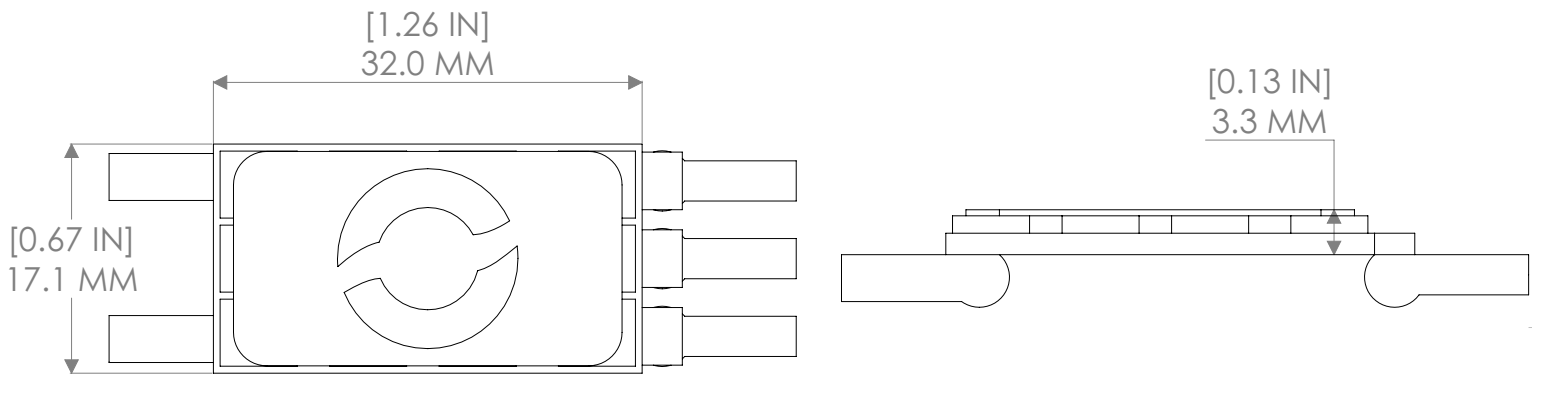
| Physical | ||
| Weight | 16.3 g | |
| Power Connectors | Spade terminals for No. 6 screw | |
| Motor Connectors | Tinned wire ends | |
| Signal Connector | 3-pin servo connector (0.1” pitch) (ground, blank, signal) | |
| Pulse Width Signal | ||
| Signal Voltage | 3.3-5 V | |
| Max Update Rate | 400 Hz | |
| Initialize/Stop | 1500 μs | |
| Max forward | 1900 μs | |
| Max reverse | 1100 μs | |
| Signal Deadband | +/- 25 μs (centered around 1500 μs) | |
| Firmware Defaults | ||
| Directionality | Bidirectional (center throttle is zero/stopped) | |
| Thermal Protection | Temperature | Motor Power Limit |
| ≥140℃ | 75% | |
| ≥145℃ | 50% | |
| ≥150℃ | 25% | |
| ≥155℃ | 0% | |
2D Drawings
Guides
Safety
When working with electricity, especially in water, always practice caution. Always ensure that connections are secure and watertight. Keep your body away from spinning motors and propellers.
Quick Start
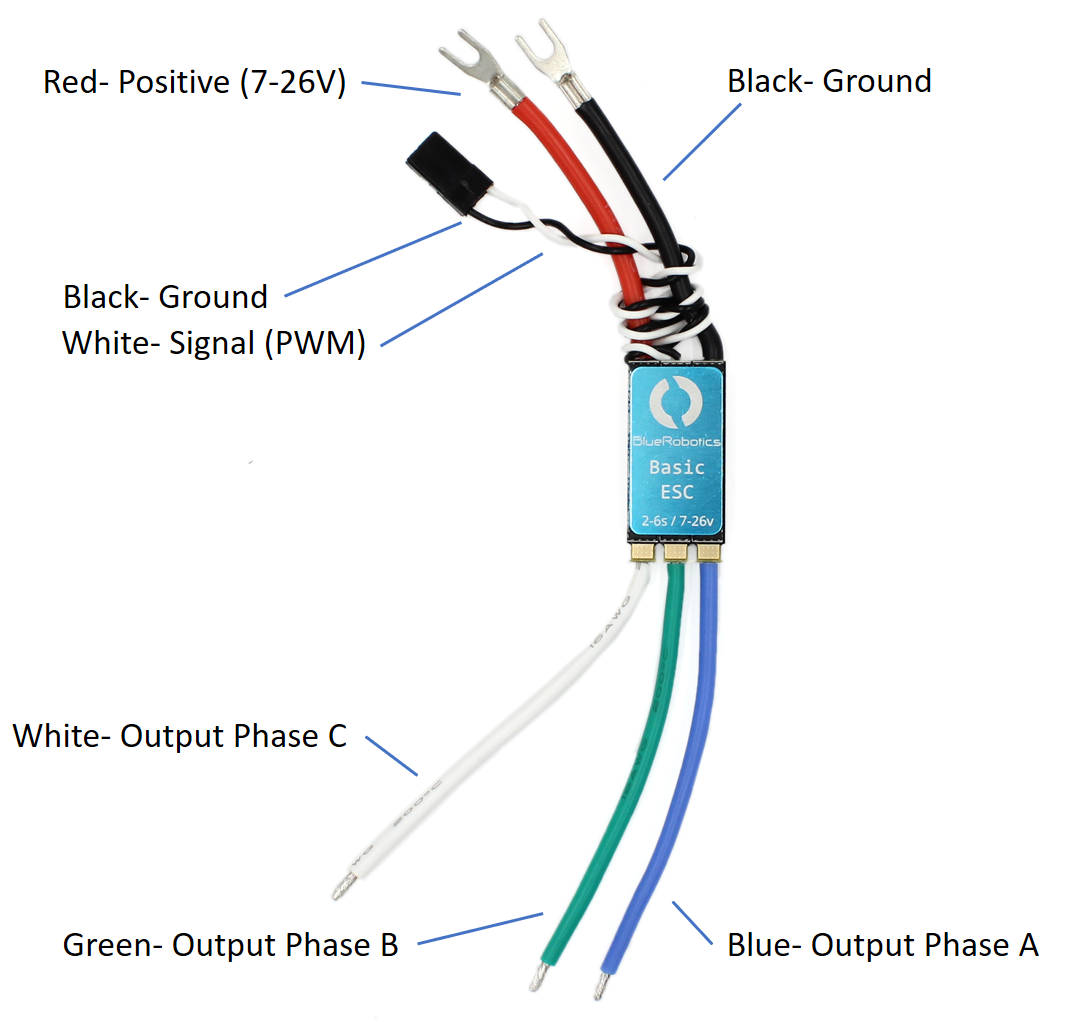
- Connect the three motor phase wires to the three motor wires. The order does not matter, the motor will spin with the wires connected in any configuration. However, switching any two wires will change the direction of the motor.
- Connect the red power wire and black ground wire to a battery or other power source. With a motor connected, you will hear three beeps in rising pitch indicating the ESC is powered on.
- Connect the signal cable to your signal source like an RC radio receiver or microcontroller board. The white wire is the signal wire.
- Send a stopped signal (1500 microseconds) for a few seconds to initialize the ESC. You will hear two tones indicating initialization, and then you can send a signal from 1100-1900 µs to operate the thruster. 1500–1900 µs for forward thrust, 1100–1500 µs for reverse.
PWM Signal

Diagram
Installation and Thermal Considerations
Like all ESCs, the Basic ESC can generate a significant amount of heat when operated. It’s important to consider this when mounting and operating the ESC to ensure that it is not damaged by overheating. Most of the heat is generated in the MOSFETs, which are underneath the blue aluminum heat spreader. Here are a few helpful tips:
1. If possible, make sure the heat spreader is exposed to free air or attached to a larger heat sink.
2. Do not use any adhesives that may insulate the heat generating components, such as silicone sealant.
Contents
- 1 x T200 Thruster
- 1 x Clockwise propeller (installed on thruster)
- 1 x Basic ESC
Reviews
There are no reviews yet.