

DESCRIPTION
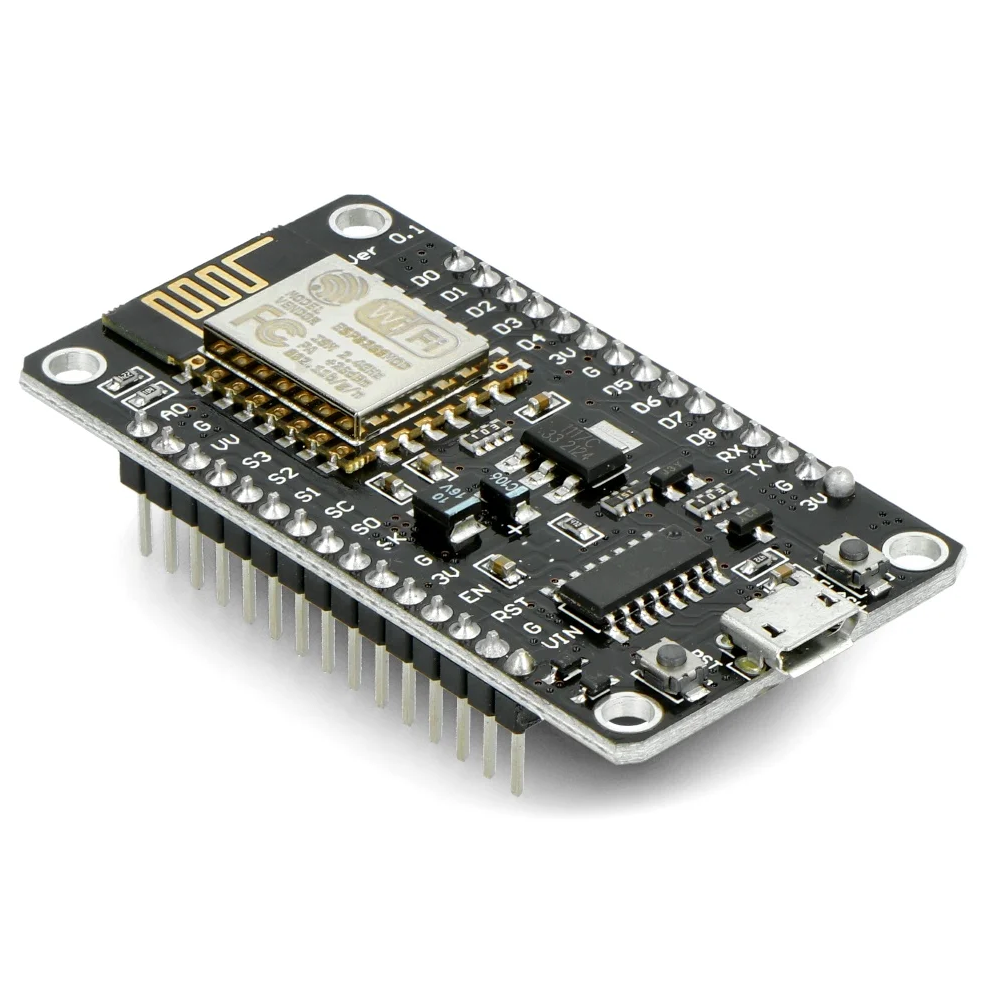
The ESP8266 NodeMCU V1.0 ESP-12E WiFi module is the latest version of this popular module and can be used as a WiFi enabled replacement for an Arduino in many applications.
KEY FEATURES OF ESP8266 NODEMCU V1.0 ESP-12E MODULE:
- Microcontroller: ESP-8266 32-bit
- Clock Speed: 80 MHz
- USB Converter: CH340
- USB Connector: Micro USB
- Operating Voltage: 3.3V
- Flash Memory: 4 MB
- Digital I/O: 11
- Analog Inputs: 1
- Communications: Serial, SPI. I2C and 1-Wire via software libraries
- WiFi: Built-in 802.11 b/g/n
Besides adding WiFi capability, the main claim to fame for the ESP8266 processor over the AVR processor of the standard Arduino is that it has a larger 4 MB of Flash memory and runs at clock speeds of 80 MHz and can sometimes optionally be overclocked to 160 MHz and therefore has a very fast processing speed.
The Digital I/O all support PWM and interrupts. In addition they can be configured to have pull-up or pull-down resistors. Though there are 11 digital I/O pins, 2 are typically reserved for use as the TX/RX lines if serial communications are used which leaves 9 digital I/O.
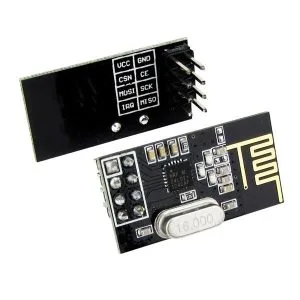
On the down-side, it has only 1 analog input which is probably the most significant limitation for some sensor type applications. That can always be overcome by using an external Analog Mux module like our 16-channel 74HC4067 or our ADS1115 4-channel 16-bit ADC module below if more analog I/O is desired.
The module can be powered via the USB port or by using an external 7-12V power supply connected to the VIN pin. The module runs at 3.3V, so keep that in mind when working with I/O. The digital I/O is stated as being 5V tolerant, but the analog input needs to be limited to < 3.3V.
The blue on-board LED is connected to D0 (GPIO16) and can be accessed using the LED_BUILTIN constant.
The module has a typical ‘Reset’ button as well as a ‘Flash’ button. The Flash button is used when programming using the original NodeMCU firmware. If the module is being used with the Arduino IDE, the Flash button does not need to be used to program the board and it will program just as any Arduino board would.
The module comes loaded with the NodeMCU software that accepts the standard AT command set. The module was initially designed primarily to be programmed using Lua which is an interpreted language, but Lua has been mostly abandoned because it takes up a lot of memory and is slow because it is interpreted and more importantly it is generally buggy.
It can also be programmed in C using the Arduino IDE and is how the modules are most often used. An example program is shown down below. If a program is download via the IDE, it will overwrite the NodeMCU software or whatever else was loaded before. If that is a problem for what you want to do, the NodeMCU software can always be reloaded.
The board uses the CH340 chip for USB communications. If you have any issues with connecting to the board, you may need to download a driver. Just search for Arduino CH340 driver and you will find a number of sources for drivers depending on what Windows or Mac operating system you are using.
TECHNICAL SPECIFICATIONS
| Microcontroller | ESP8266 Tensilica 32-bit |
| Serial to USB Converter | CH340 |
| Operating Voltage | 3.3V |
| Input Voltage (recommended) | 7-12V |
| Digital I/O Pins | 11 |
| PWM I/O Pins (Shared with Digital I/O) | 10 |
| Analog Input Pins | 1 (10-bit) |
| DC Current per I/O Pin | 12mA (Max) |
| Hardware Serial Ports | 1 |
| Flash Memory | 4 MBytes |
| Instruction RAM | 64 KBytes |
| Data RAM | 96 KBytes |
| Clock Speed | 80MHz |
| Network | IEEE 802.11 b/g/n WiF |
| Built-in LED | Attached to digital pin 13 |
| USB Connector Style | Micro-B Female |
| Board Dimensions (PCB) | 69 x 53mm |
| Datasheet | ESP8266EX |
Watch a video walkthrough of this process
we’ll show you how to install CH340 drivers on multiple operating systems if you need them. The driver should automatically install on most operating systems. However, there is a wide range of operating systems out there. You may need to install drivers the first time you connect the chip to your computer’s USB port or when there are operating system updates.
Windows
- Download the Windows CH340 Driver
- Unzip the file
- Run the installer that you unzipped

Reviews
There are no reviews yet.