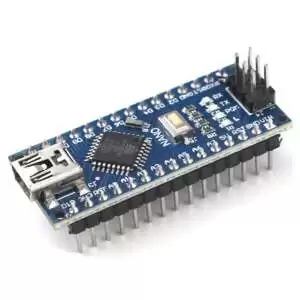
The board is very popular among students and hobbyists due to its flexibility, ability to connect different robotic parts including sensors, actuators, etc., and a great platform to learn about robots and how they work. The board can be used in various projects from semi-autonomous to autonomous robotics applications.
UNO’s features include a USB interface that doesn’t require drivers to communicate with operating systems like Windows or Mac OS, stability, a long list of resources and a large community of members ready to improve the ecosystem of the board.
Arduino Uno Specifications
- Microcontroller: LGT8F328P
- Operating Voltage: 5V
- Input Voltage (recommended): 7-12V
- Input Voltage (limits): 6-20V
- Digital I/O Pins: 14 (of which 6 provide PWM output)
- Analog Input Pins: 6
- DC Current per I/O Pin: 40 mA
- DC Current for 3.3V Pin: 50 mA
- Flash Memory : 32 KB
- SRAM: 2 KB
- EEPROM: 1 KB
- Clock Speed: 16 MHz
Technical Support : GitHub
installation Board To Arduino IDE Board Manger :
1. Start the Arduino-IDE. In File->Preferences, Settings tab, enter
https://raw.githubusercontent.com/nulllaborg/arduino_nulllab/master/package_nulllab_boards_index.json
2. Open Tools->Board:…->Boards Manager
3. Find arduino_nulllaba by typing ‘nulllab’ into the search line
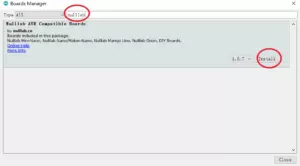
4. Click on the list entry
5. Click on Install.
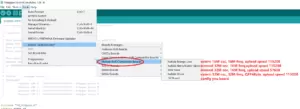
6.Now you should find a new entry nulllab avr compatible boards in the list at Tools->Board
7. Choose nulllab boards from the list Then DONE now you can program it with any arduino code you want.




Reviews
There are no reviews yet.